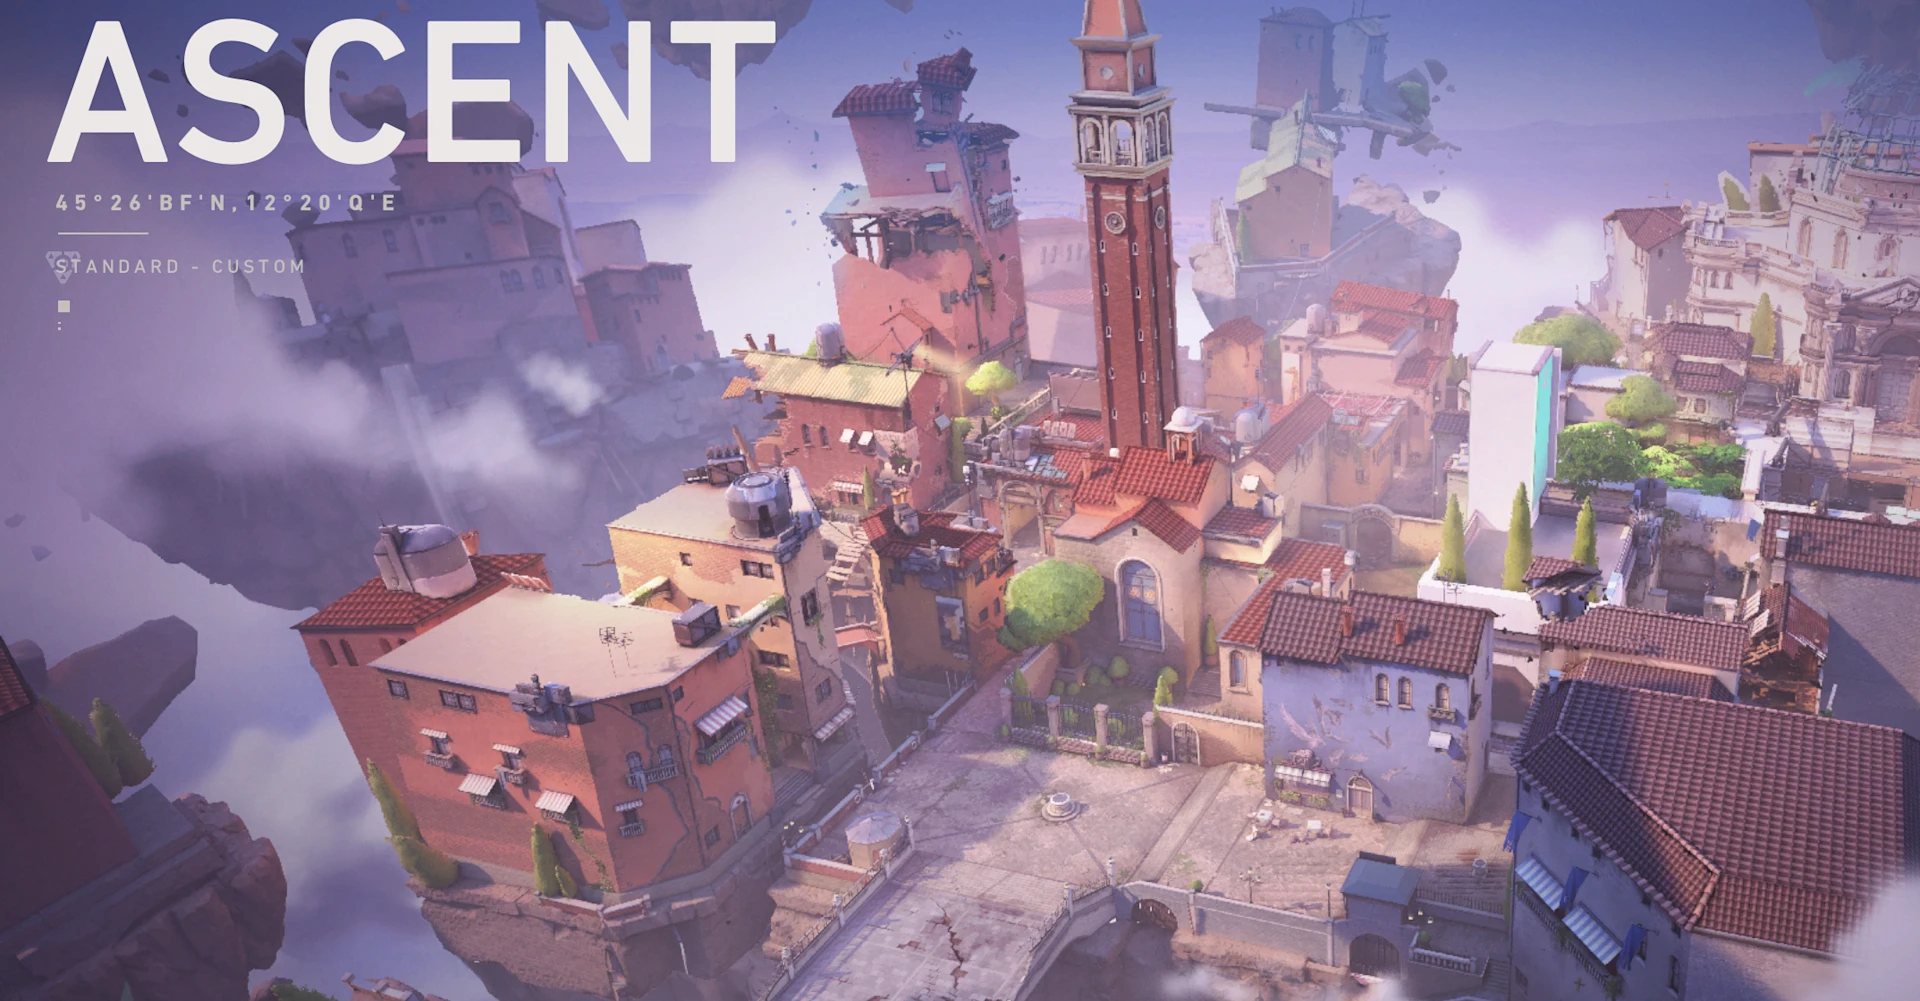
Valorant Map Guide: Ascent
Location tips for the new Valorant map.

The VALORANT map Ascent is a two site map featuring tight alley ways, claustrophobic boxy areas and a mid lane that requires dominance.
Controlling middle on this map is the most important objective for both teams to have any success with taking or defending sites. There are two trap doors which are brand new mechanics to the world of VALORANT.
Bombsite A
Defending A site
Bombsite A in Ascent is the site that will have the most defender side difficulty in holding.
Because of the three entrances into the site and its very vertical stacked interior, players holding A will need to be aware of what is happening mid to have a great understanding of where they should be playing to better hold A. Some help from your teammates on mid catwalk to stop rushes or flanks requires very clear communication and timing.
The biggest things to consider when playing A site are listening for footsteps coming from Gelato. Typically speaking, engagements outside of A will happen fast and utility will be spent in the area of A Orb. If you can stall or get a frag here, you’ve solidified your defense in A.
Here are some key features of bombsite A:
- “Default”
- “Double” or “Boost Corner”
- Heaven
- Black Box
Attacking A site
When attacking A site, you’ll encounter players in the alley outside of A, at the default corner or inside the site playing behind boxes or the large black box.
Creating pressure from middle to force players to rotate into A heaven or into A site for a crossfire gives you a significant advantage to take A site. Make sure you check under heaven in the cubbies and use utility to force players off of these spots:
- Single Box
- Boost Corner
- Black Box
Bombsite B
Defending B site
When defending B, you’ll want a player who can float between B main and the boat who can stall attacking players or outright out frag them.
The angles you’ll want here are more passive than other maps since the areas coming into B site are forgiving with cover and escape routes. The trap door should be open so you can move between mid and B freely.
If your team has a Sage, B site is a good grounded location with only one entrance in that can be iced or walled to slow their push.
Attacking B site
When attacking B, using the windows above the orb in B main can allow arrows, boosts and even Jett peeks over the wall into the site for information the team can use to crush defenders.
Coordinating pushes with a mid player will force defending agents into their spawn lane, giving you plenty of cover or utility cushion to make a break into B site for a plant.
Fragging defending players in the areas around B site can give you the ability to lower the trap door, eliminating entrances into the site. This allows crossfire setups to be extremely effective.
Because of the geometry inside B site, there are a bunch of really great plant locations you can take the spike and plant with:
- Stairs
- Default
- Box
Attacking B requires a coordinated effort to pressure the B main corner and to cut off sight lines from middle. If you can put fire, snake venom or a smoke into the trap door, you can push into B site with no problems. Using utility that has a long lasting effect like a Brimstone smoke or molotov will give you momentum.
Middle
The middle area on this map is key to winning rounds. Attackers and defenders need to concentrate on putting at least 2 players here each round to secure frags and mid control. Here are some of the notable mid locations:
- Rose Wall
- Catwalk
- Mid Gates
Attacking Mid
On attack, having a player up at the roses wall and players creeping in from B side, you’ll want to cut off one of the defending strongholds to move around properly. If you cannot secure midground, you are forced into the choke points defenders have on A and B site. Even with numbers it is difficult to give up mid for rushing a site successfully.
Defending Mid
On defense, puting players with crossfire potential into mid will give you information for teammates to help you bunker in. Because defending players can rotate to assist mid swiftly, it is important you can gain information of player actions in mid without sacrificing a frag. Remember to use utility to see if any attacking players have crossed mid territory and are stacking to push somewhere.
Ascent strategy
Ascent is more of a map that feels like a Counter-Strike map. With the emphasis on mid control leading to your success, you will need to make sure the best communication is focused around opposing team enemy locations.
Securing frags in middle on both sides leads to split pushes into the bomb sites that will almost certainly guarantee success. Focus on utility being used as needed, and do not waste opportunities to gain information.
Common A player spots
- Boost Corner
- Default Corner
- Heaven
- Cafe or “Cubby”
- Trap Door
- Hell
Common B player spots
- B Main Corner
- Default Box
- Jail
- Stairs
- Boat
Find Valorant players and more on the official SteelSeries Discord server!
Read more

Dan "Wootystyle" Kelly is an Air Force veteran, magician, streamer, old-school pro gamer (Halo 1+2, Rainbow Six) and game designer. He has played in competitive FPS communities since he was 14.