Minecraft Potion Guide: Recipes, Effects, and Brewing Tips
Guide to Minecraft Potions | SteelSeries

Minecraft potion guide with recipes, effects, and brewing tips. Discover the best brews for survival, speedruns, PvP, and boss battles.
Minecraft potions are your survival tools, speedrun tech, and sometimes the best way to troll your friends in the game. They can help you dive into lava like it's a hot tub and also get you to shrug off a fall from the Ender Dragon’s launch attack. The right brew can save that blocky little life of yours.
Here’s everything you need to know, conveniently put into a guide just for you. Sneak peek: We’re covering the must-have brewing setup, base potions, and all the key recipes, and some bonus pro tips to make your stash raid-ready.
What You Need to Start Brewing in Minecraft
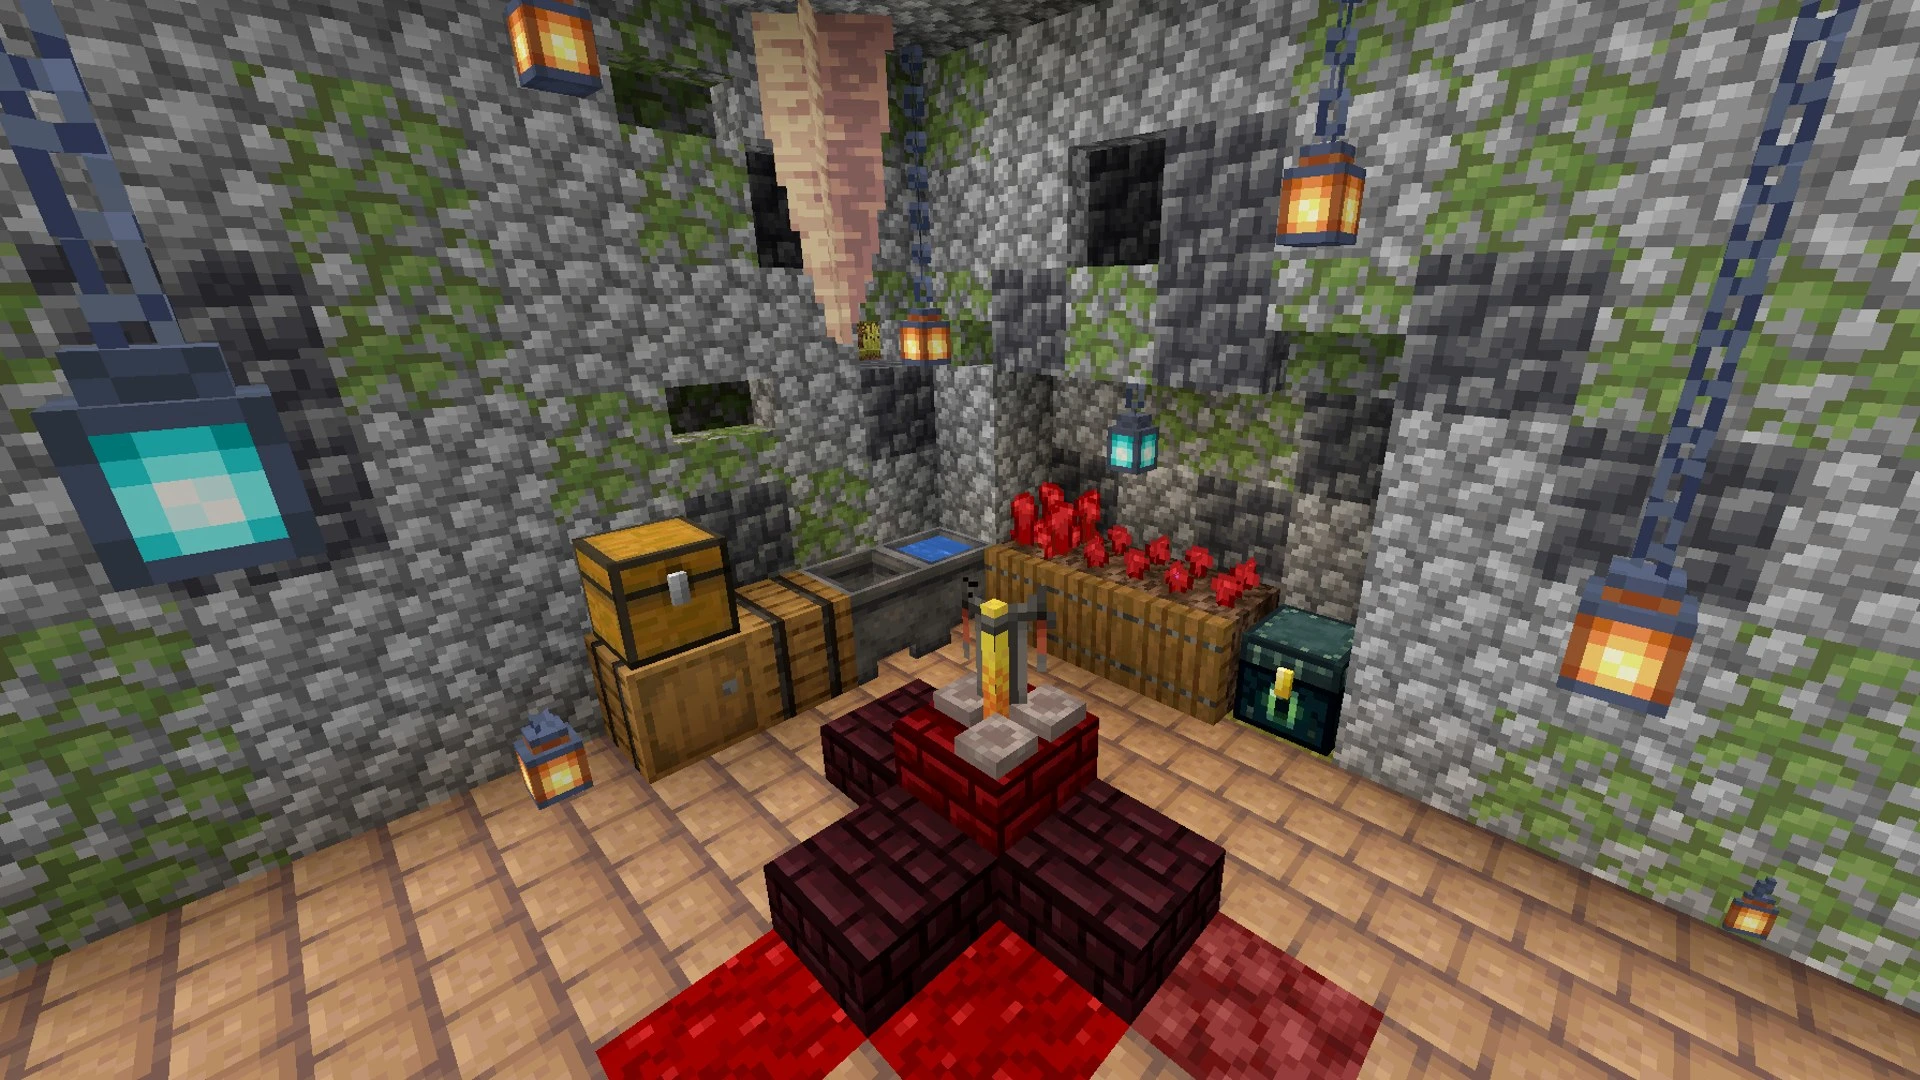
Before whipping up your magical concoctions, there’s a little bit of setup required. Here’s what you need for your very own in-game chemistry lab:
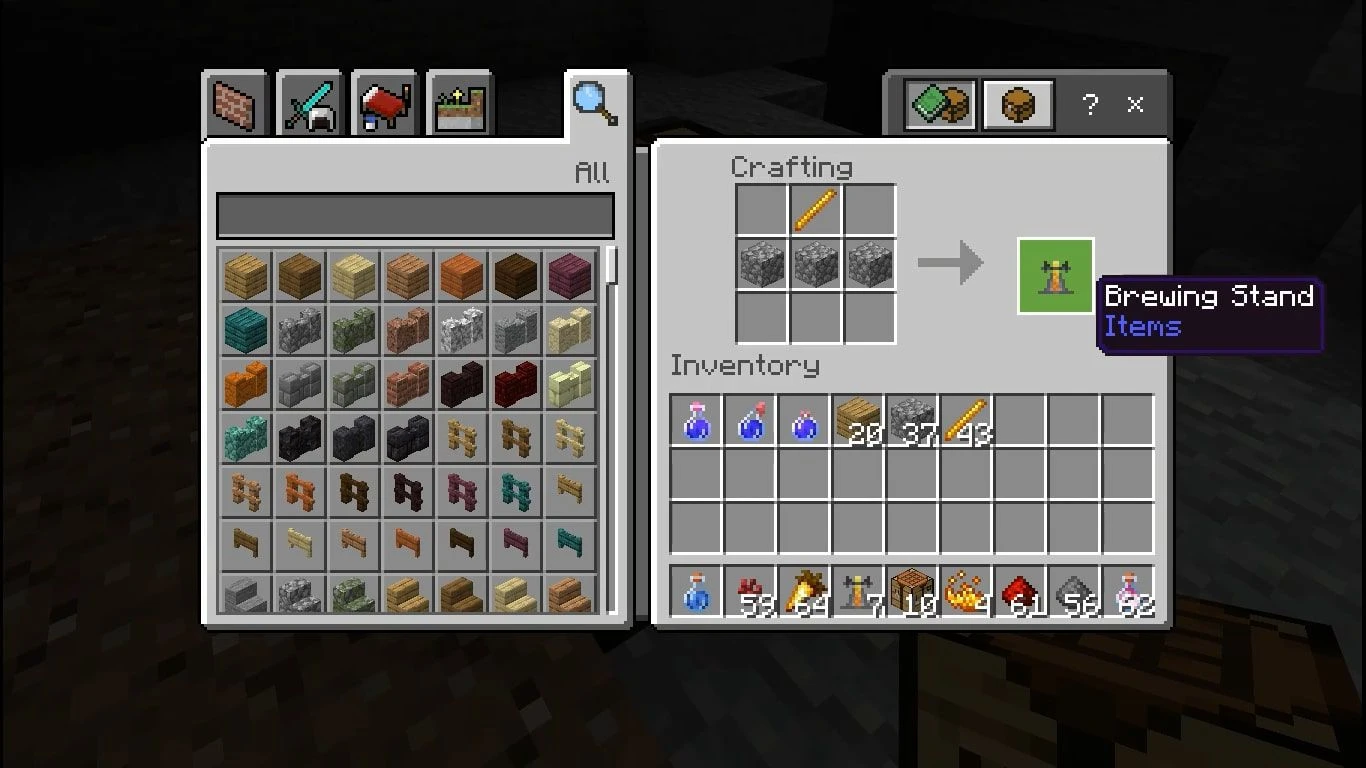
Brewing Stand → The core of potion-making. Craft it with 1 Blaze Rod + 3 Cobblestone. Pro tip: You’ll only get Blaze Rods from Blaze mobs, which means braving a Nether Fortress. Bring fire resistance or get roasted.
Blaze Powder → Fuel for your Brewing Stand. Each powder gives multiple brews, but you’ll quickly burn through stacks.
Glass Bottles + Water → Every potion starts as a water bottle. Craft bottles with 3 Glass and right-click any water source to fill. Keep a cauldron in your base if you’re lazy.
Nether Wart → This crimson fungus is what turns plain water into an Awkward Potion — the base for almost every effect potion. Grows in Nether Fortress stairwells.
Optional setup: Keep a chest near your Brewing Stand stocked with dusts, eyes, and ghastly tears so you’re not scrambling mid-raid.
Base Potions Explained
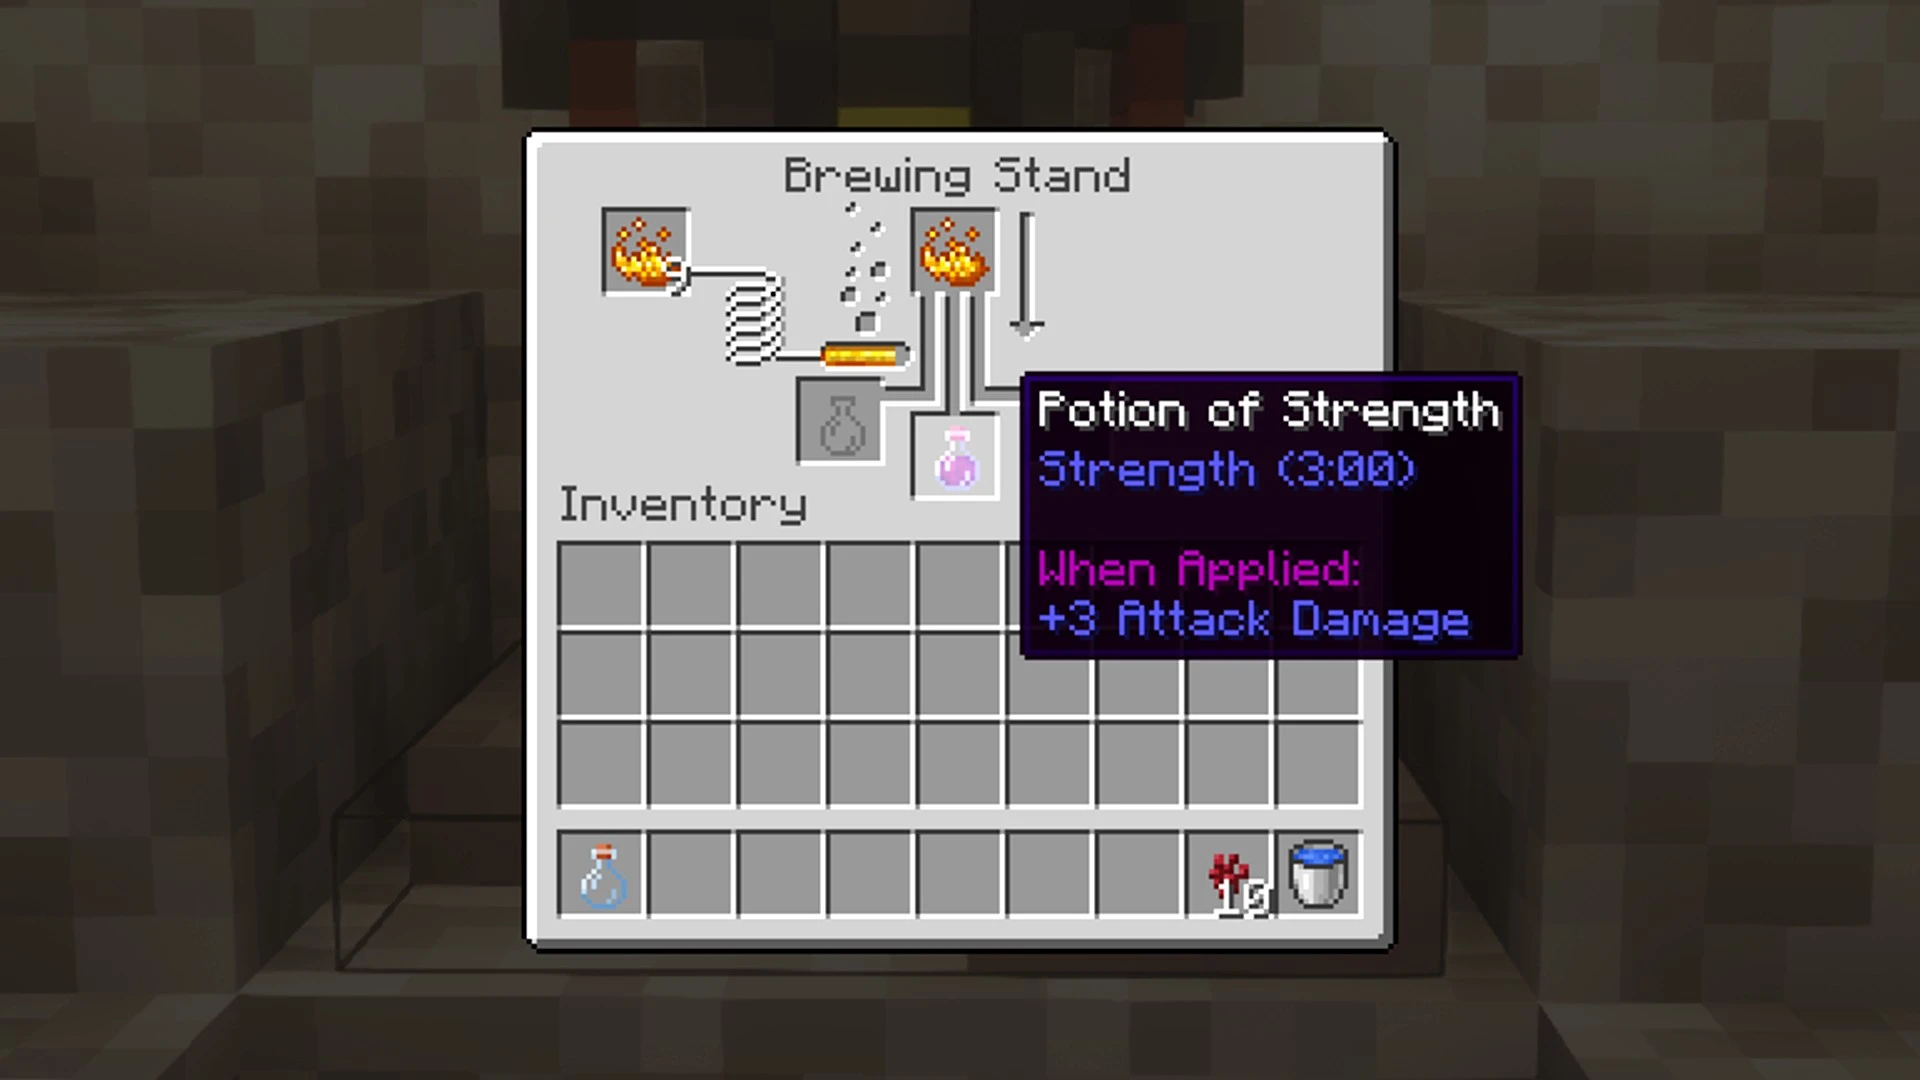
Before getting to the fancy stuff like Fire Resistance or Night Vision, you need to understand base potions. Mastering base potions keeps you from wasting rare ingredients later.
Awkward Potion → The foundation of Minecraft alchemy. Add Nether Wart to a water bottle and boom — you’ve got the base needed for almost every “real” potion. If you only remember one thing, remember this: no Nether Wart = no good potions.
Mundane Potion → Made by adding random ingredients (like sugar or spider eyes) to water bottles without Nether Wart. Spoiler: they don’t do anything useful. You’ve basically just brewed “meh juice.”
Thick Potion → Same deal, different name. Another dead-end with no effects. Think of it as Minecraft’s version of flat soda.
Water Bottle → Don’t underestimate this humble starter. It’s the blank canvas that becomes potions, splash potions, or even lingering potions with the right tweaks.
I recommend stockpiling Awkward Potions in bulk. You don’t want to end up in a situation calling for Ghast Tears and Rabbit’s Feet without already having some of the bases ready for you to go.
Potion Recipes & Effects
Once you’ve covered the basics like your brewing setup and base potions, you can cook up the good stuff. Here’s what each potion does, how to make it, and how to use them during play.
Healing & Buff Potions
Potion of Healing → Brew with Glistering Melon Slice. Restores health instantly, making it a lifesaver mid-battle when you don’t have time to munch on food.
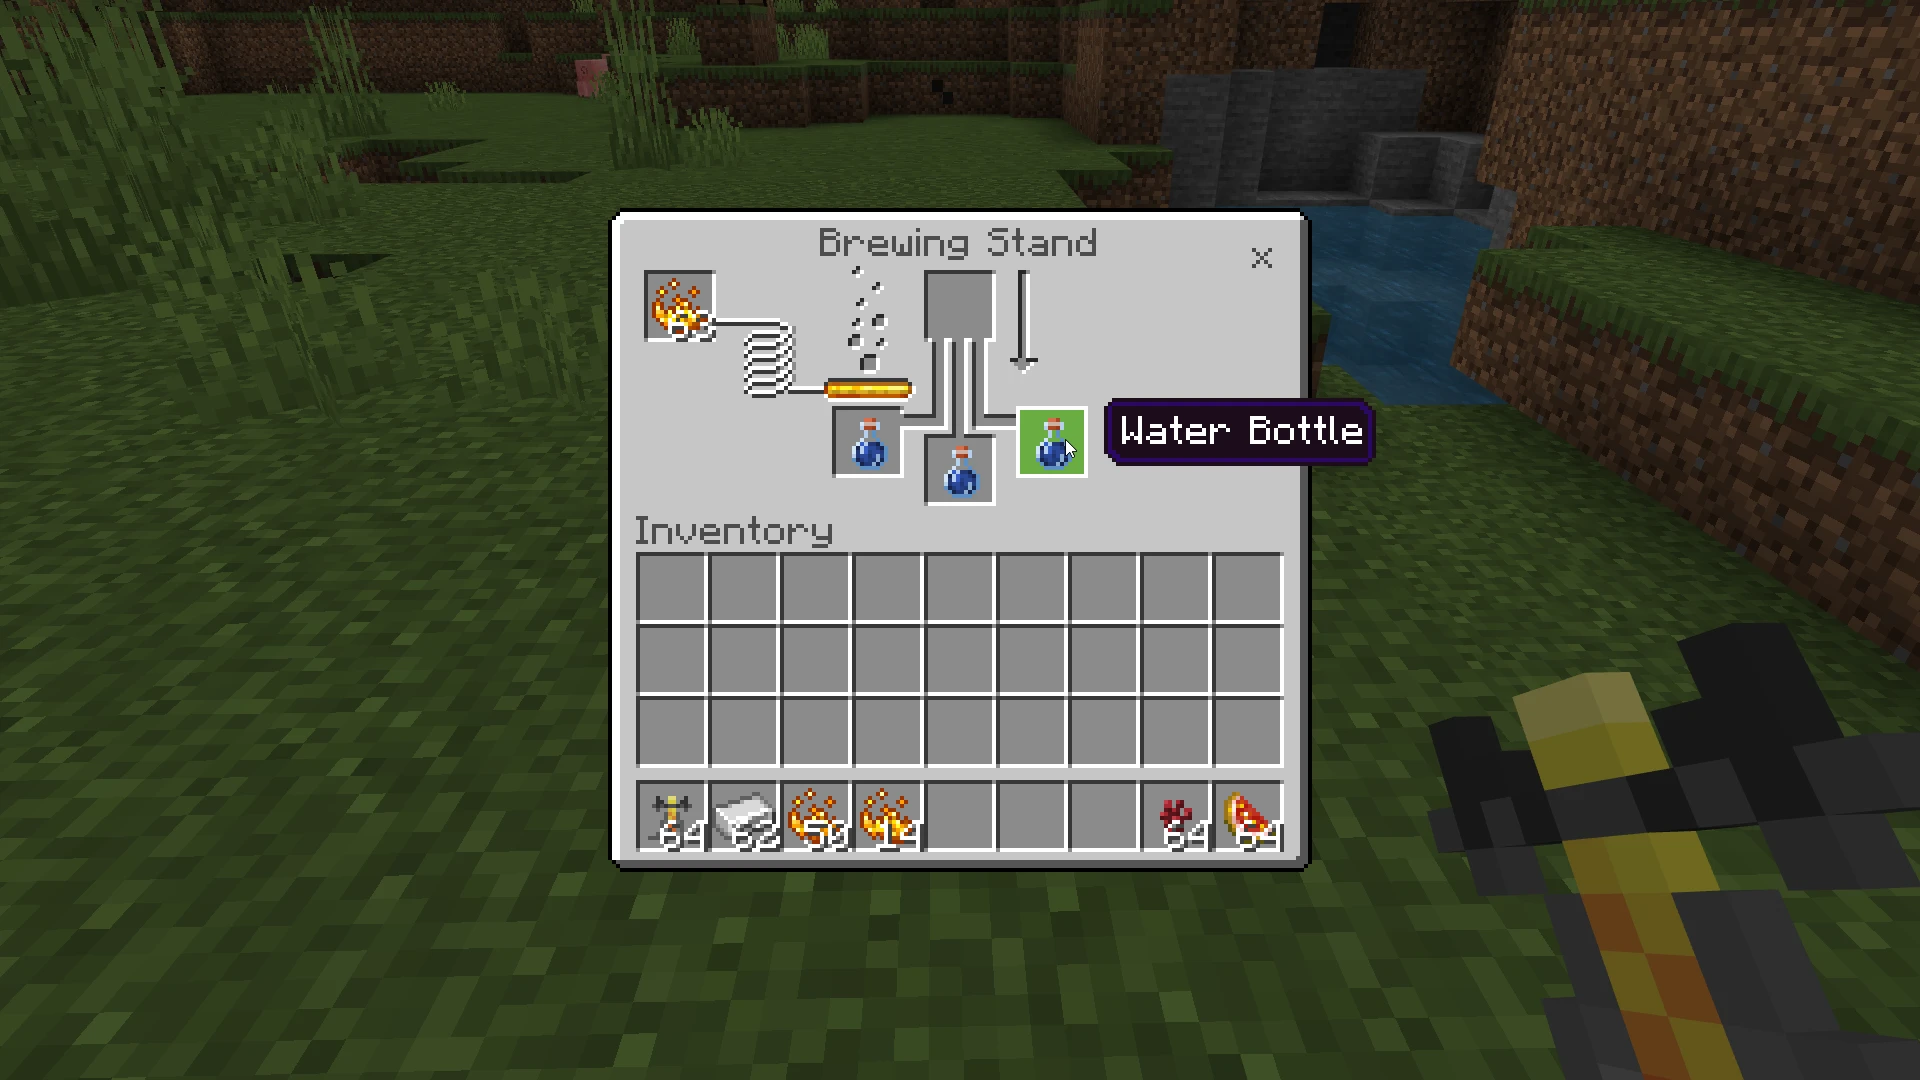
Potion of Strength → Add Blaze Powder. This potion makes you hit harder in melee, perfect for boss fights like the Wither or Ender Dragon.
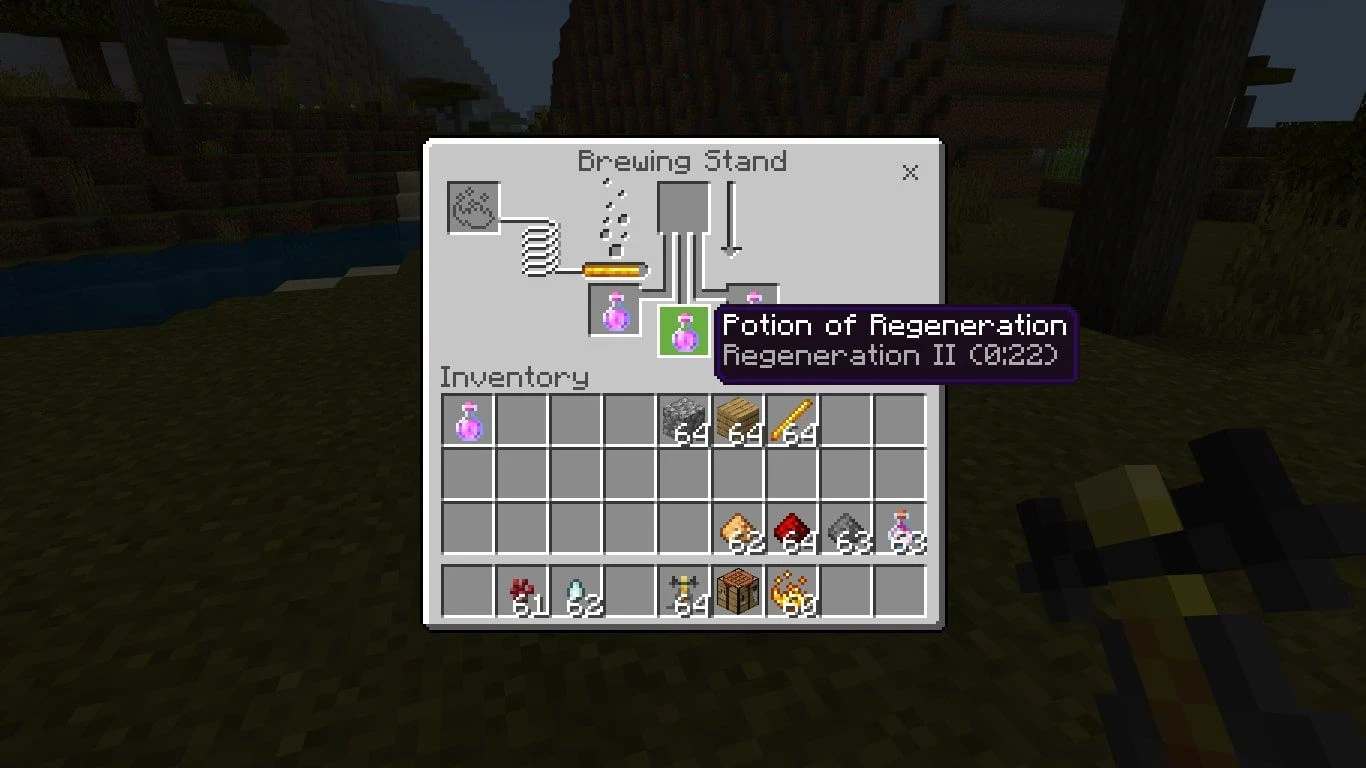
Potion of Regeneration → Use a Ghast Tear. Heals you slowly over time, clutch in raids or dungeons when chip damage adds up.
Potion of Fire Resistance → Craft with Magma Cream. Give you immunity against fire and lava, mandatory for farming Blaze Rods in the Nether.
Utility Potions
Potion of Night Vision → Add a Golden Carrot. Caves and oceans will no longer feel like pitch-black death traps.
Potion of Water Breathing → Brew with a Pufferfish. Allows you to breathe underwater, perfect for ocean monument raids.
Potion of Slow Falling → Use a Phantom Membrane. It negates fall damage and slows your descent, an essential in Ender Dragon fights when you inevitably get launched sky-high.
Potion of Invisibility → Add Fermented Spider Eye to a Night Vision potion. Enables sneaking past mobs (or your buddies).
Harmful Potions
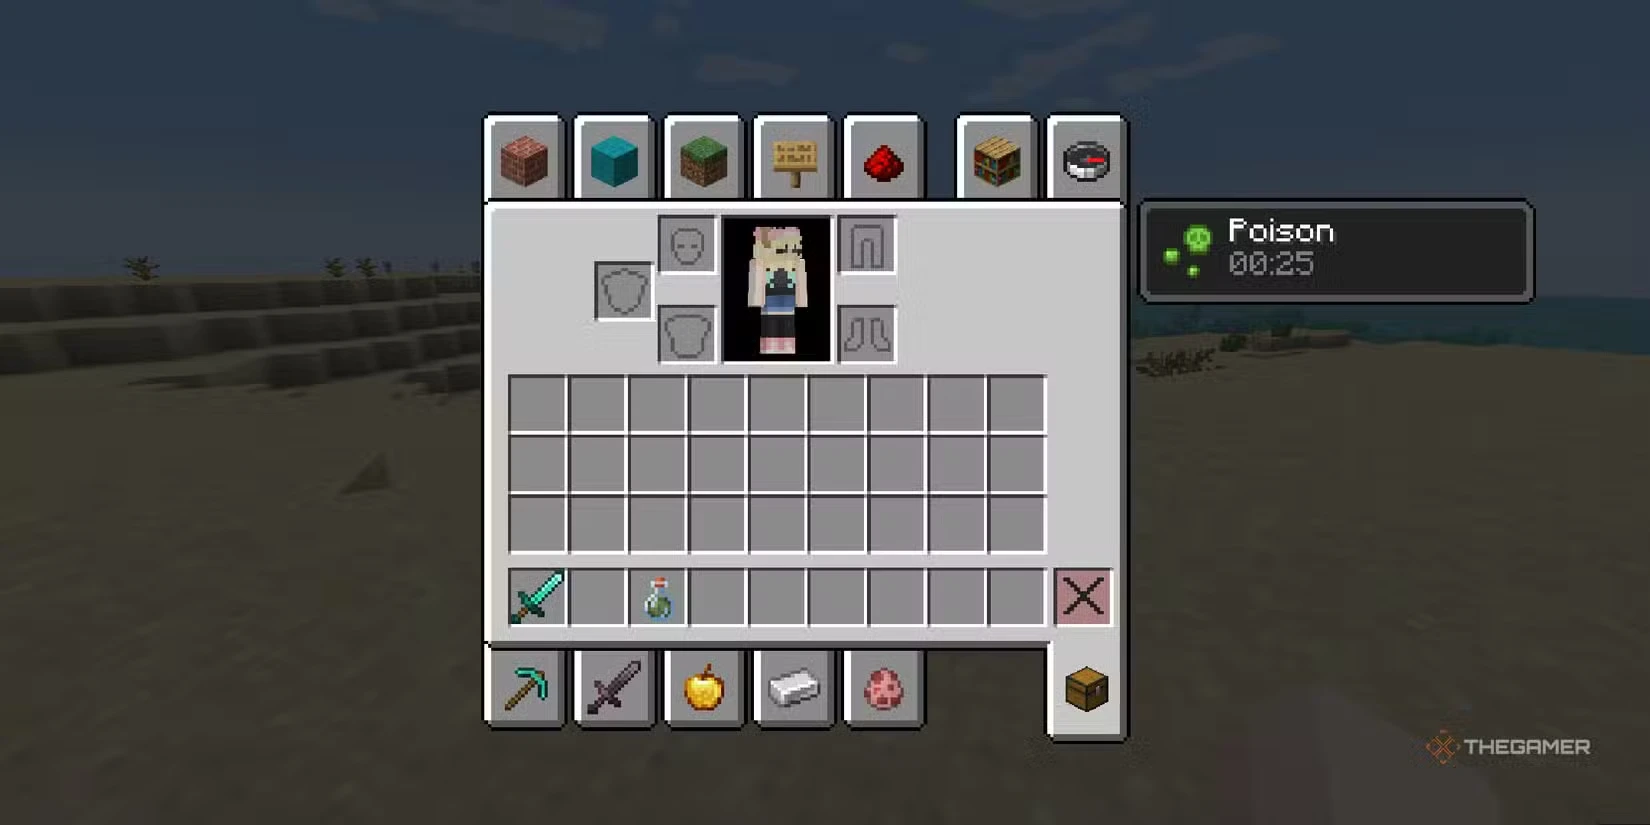
Potion of Poison → Brew with a Spider Eye. Slowly chips away at health (but won’t kill). Classic PvP harassment tool.
Potion of Weakness → Fermented Spider Eye. Reduces melee attack damage, great for leveling the playing field against strong mobs.
Potion of Harming → Fermented Spider Eye + Glistering Melon or Spider Eye. Deals instant damage. Think throwable grenades when turned into splash potions.
Potion of Slowness → Fermented Spider Eye + Sugar (from Sugarcane crop). Cuts movement speed, letting you kite mobs or stall enemies in PvP.
How to Upgrade Your Potions
You can also modify and power up your concoctions using a few extra ingredients:
Redstone Dust — Extends the duration of most potions. Example: Example: A 3-minute Swiftness potion becomes 8 minutes. Great for long mining sessions or Nether trips where you don’t want to re-brew mid-run.
Glowstone Dust — Makes a potion stronger, but usually shortens its duration. Example: Potion of Strength I (3 mins) becomes Strength II (1:30 mins).
Gunpowder — Turns any potion into a splash potion, which you can throw instead of drinking. Perfect for healing teammates or hurling Poison into a mob pit.
Dragon’s Breath — Converts splash potions into lingering potions, which leave a misty cloud on the ground. Great for PvP choke points or creating tipped arrows for long-range potion effects.
Pro tip: Keep both versions handy. Long-duration potions are great for exploring, while high-power short ones shine in boss fights.
Brewing Tips
Once you know the basics, brewing is all about efficiency. Here are some pro moves to make your potion game smoother:
Bulk-brew Awkward Potions. Nothing slows you down like having rare ingredients but no bases ready. Always keep a chest of awkwardness next to your stand.
Label your chests. Between Nether Wart, Blaze Powder, Ghast Tears, and that random Rabbit’s Foot you swear you’ll use someday — potion mats get messy fast. Organized storage = faster brewing under pressure.
Carry Splash Potions of Healing. Drinking takes time, but throwing one at your feet heals instantly — key in PvP or when a Creeper jumps you.
Fire Resistance is non-negotiable. Don’t go into the Nether without it. Farming Blaze Rods without Fire Res is basically hardcore mode, whether you meant it or not.
Experiment with combos. Strength + Swiftness makes you a raid monster. Regeneration + Fire Resistance = boss fight safety net.
Stock Gunpowder. Splash versions of Healing and Poison are game-changers. Gunpowder is everywhere thanks to Creepers, so don’t sleep on it.
Lingering for defense. Dragon’s Breath + splash potions create lingering effects — perfect for trapping doorways in PvP servers.
Bonus Tip: Keep a brewing station in your Nether hub. Saves you the trip when you inevitably run out of Fire Resistance mid-exploration.
Brew It and Do it
Potions mean the difference between faceplanting into lava or walking out of the Nether like the hero that you are. With your base potions, the right setup, and some upgrade tricks, you’re well-prepared for almost anything.
Brew smart, stock up, and bring those mystical concoctions on your next. And during moments where precision matters, whether that means landing a splash heal on your squad or juking Mob with Swiftness, SteelSeries gaming mice keep your clicks, casts, and combos on point.
Minecraft Potion Guide: FAQ
How do you make potions in Minecraft? You’ll need a Brewing Stand (crafted with Blaze Rod + Cobblestone), Blaze Powder for fuel, and Water Bottles. Add Nether Wart to get Awkward Potions, then mix in ingredients like Sugar, Magma Cream, or Ghast Tears for effects.
What’s the best potion for fighting the Ender Dragon? Slow Falling (Phantom Membrane) is the MVP — it prevents fall damage when the Dragon yeets you into the sky. Pair it with Strength and Regeneration for max survival.
What’s the rarest potion in Minecraft? Potion of Luck. It only exists in the Java Edition via commands or creative mode — you can’t normally brew it in survival.
Can potion effects stack? Not if they’re the same potion type. Drinking two Regenerations won’t heal faster. But you can combine different effects — like Strength + Swiftness for raid domination.
What’s the difference between splash and lingering potions? Splash = throwable, good for hitting mobs or healing teammates. Lingering = leaves a cloud on the ground, great for PvP choke points or making tipped arrows.
Where do I find Nether Wart? Inside Nether Fortresses, usually on stairwells. Bring Fire Resistance before you go — Blazes and lava love to ruin your day.

Wordsmith at SteelSeries. Enthusiastic about Dota 2 and fighting games. A cat dad.