
Elden Ring Nightreign Bosses Guide: Every Major Threat & How to Beat Them
Elden Ring Nightreign Bosses Guide | SteelSeries

Meet every major boss in Elden Ring: Nightreign. Get locations, strategies, and tips to survive the toughest fights.
Nightrein is an off-shoot game of Elden Ring, and changes up the gameplay quite a bit, developing its own meta. Without good teamwork and planning, it is tough to beat the large cast of bosses. If you’re a hardened Tarnished or a newcomer itching for your first taste of twisted Nightlords, you want to know everything you need about a major boss you’ll face, where to find them, and how to bring them down without losing your sanity.
From the corrupt Nightlords wielding Dormant Powers to reimagined Dark Souls legends, you’ll need a strategy that goes beyond just wildly swinging. Here’s how to conquer the shadows one fight at a time.
How Many Main Bosses Are in Elden Ring: Nightreign?
There are 15 main bosses in Elden Ring: Nightreign, including six powerful Nightlords, several returning threats from the Dark Souls era, and a final boss that tests your build and reflexes. They’re all critical to story progression, often tied to unlocking Dormant Powers, and each one features unique mechanics.
The main boss roster spans across new regions with difficulty scaling as you go deeper into the various corners of the world. Expect to clash with everything from toxic monstrosities and corrupted knights to divine avatars of night itself.
To break it down, here are the enemies you’ll face in Nightreign:
6 Nightlords (Gladius, Fulghor, Libra, Caligo, Adel, Maris)
5 Major Region Bosses (Darkdrift Knight, Sentient Pest, Mountaintop Ice Dragon)
3 Enhanced Legacy Bosses (Nameless King, Godskin Apostle, Grafted Scion)
1 Final Boss (Skip to the end if you want a sneak peak)
While there are dozens of mini-bosses, dungeon guardians, and optional horrors lurking in Nightreign’s shadows, these 15 encounters are the big ones, each with an accompanying cutscene.
What Are Nightlords in Nightreign?
Nightlords are Nightreign’s most powerful and story-critical bosses. Think of them as this expansion’s equivalent of demi-gods or shardbearers: beings corrupted by Night Aspects, granted immense Dormant Powers, and twisted by the Sovereign Sigils they once swore to protect.
Night Aspects are mysterious, godlike forces that shape both the lore and mechanics of Nightreign. Each Nightlord is aligned with a specific Aspect—like Miasma, Storm, or Arcane, which influences their fighting style, area design, and even the type of Dormant Power you unlock after defeating them. Think of them as dark, corrupted elements that affect both boss design and your own build potential.
Defeating all six Nightlords is key to progressing through Nightreign’s main story and unlocking the final boss.
The Six Known Nightlords
Gladius, Beast of Night: A hulking terror buried in the bones of the First Fissure. Heavy melee, brutal charge patterns.
Libra, Wisdom of Night: A calculating, spectral caster who warps gravity and summons mirrors of past heroes.
Fulghor, Champion of Nightglow: Blazing fast and ferocious, fighting Fulghor is like battling a sentient bolt of lightning.
Caligo, Miasma of Night: Fills the battlefield with poison clouds and death blight fog; bring resistance or die trying.
Adel, Baron of Night: A vampiric warlord with lifesteal abilities and a blade that feeds on your buffs. Maris, Fathom of Night: Dwells deep beneath the frozen lakes of Limveld; summons tidal magic and spirit beasts.
Each Nightlord drops a Sovereign Sigil and unlocks a new Dormant Power tied to your character’s Night Affinity. Beating all six not only progresses the story, it reshapes how you build and play for the rest of the expansion.
All Main Bosses in Nightreign (In Order of Encounter)
Nightreign wastes no time throwing you into the thick of it. Across Limveld, the Mountaintop regions, and the Final Circle, you’ll face some of the most punishing and visually spectacular boss encounters FromSoftware has ever created.
Below is the current list of main bosses, organized in the rough order you’ll encounter them, including each Nightlord, returning Dark Souls bosses, and the final threats at the heart of the Night.
Region: Limveld – The Forsaken Lands
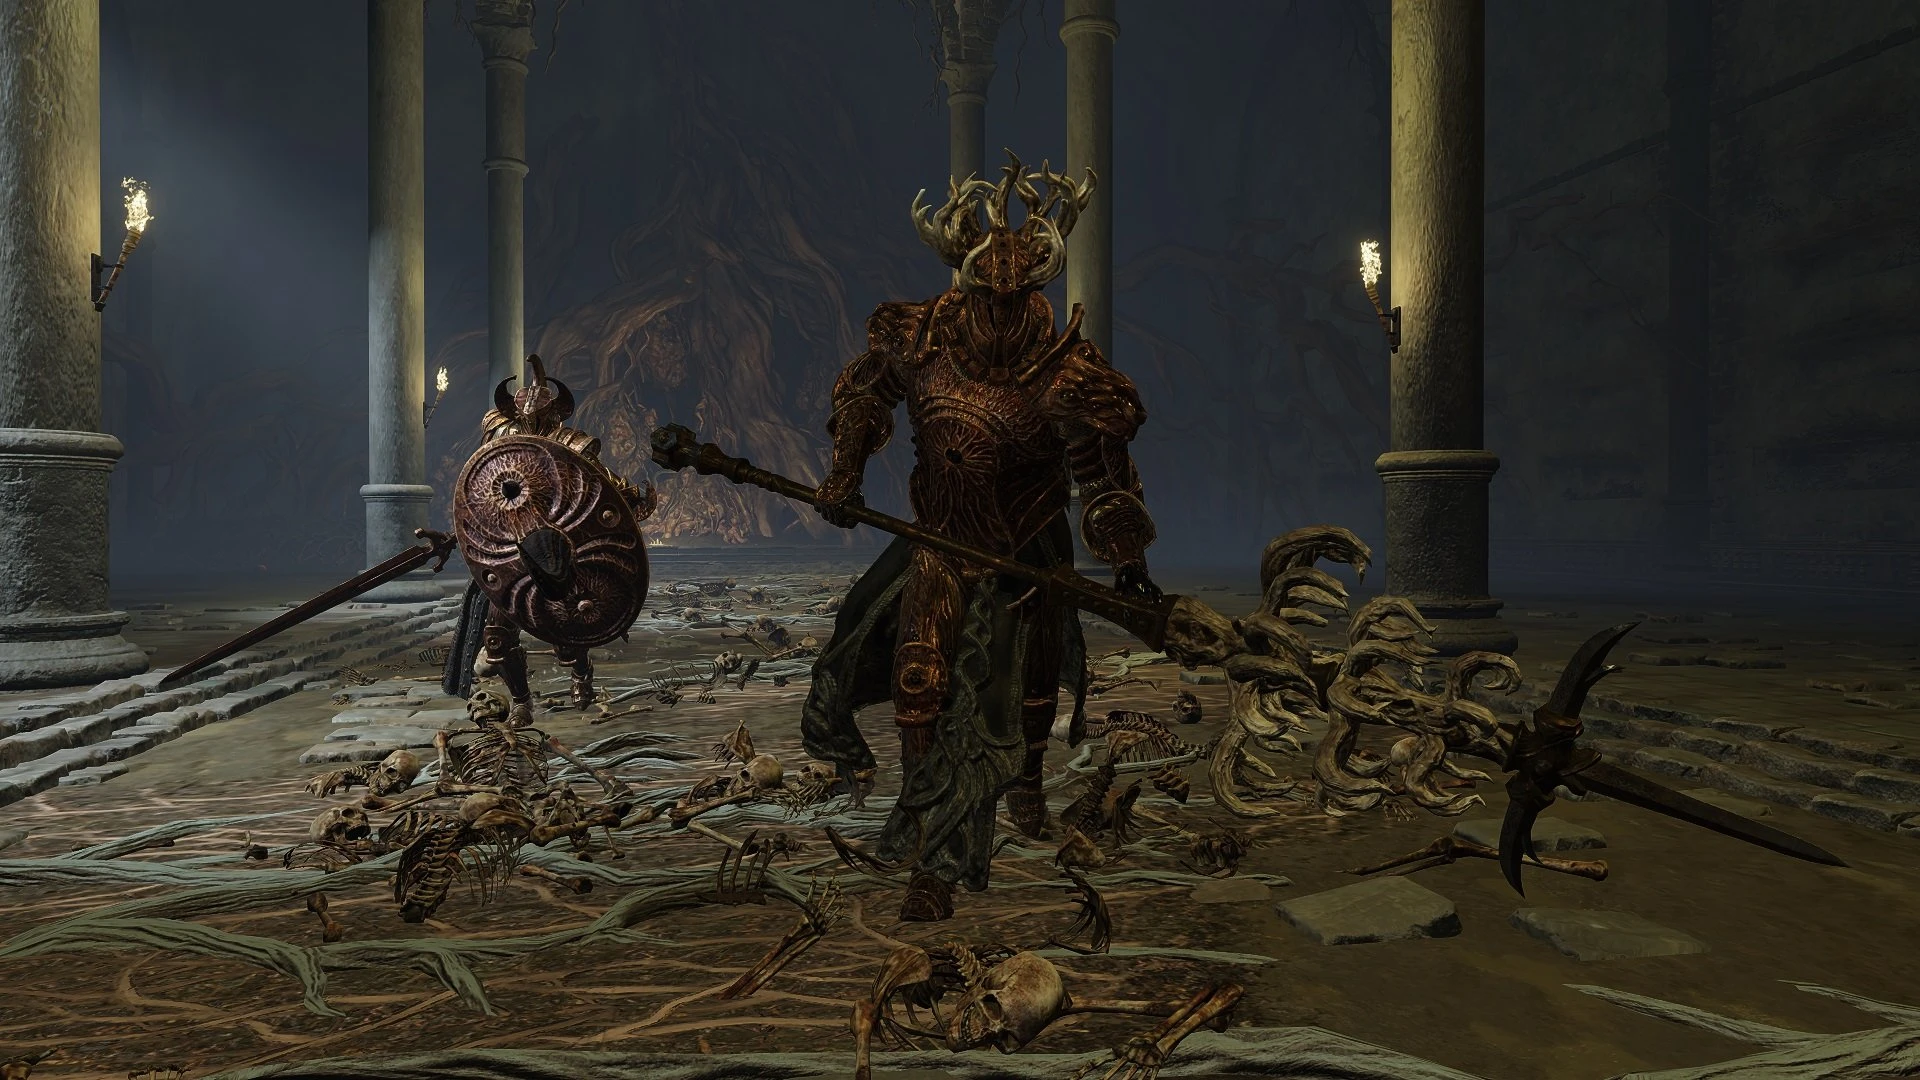
Darkdrift Knight
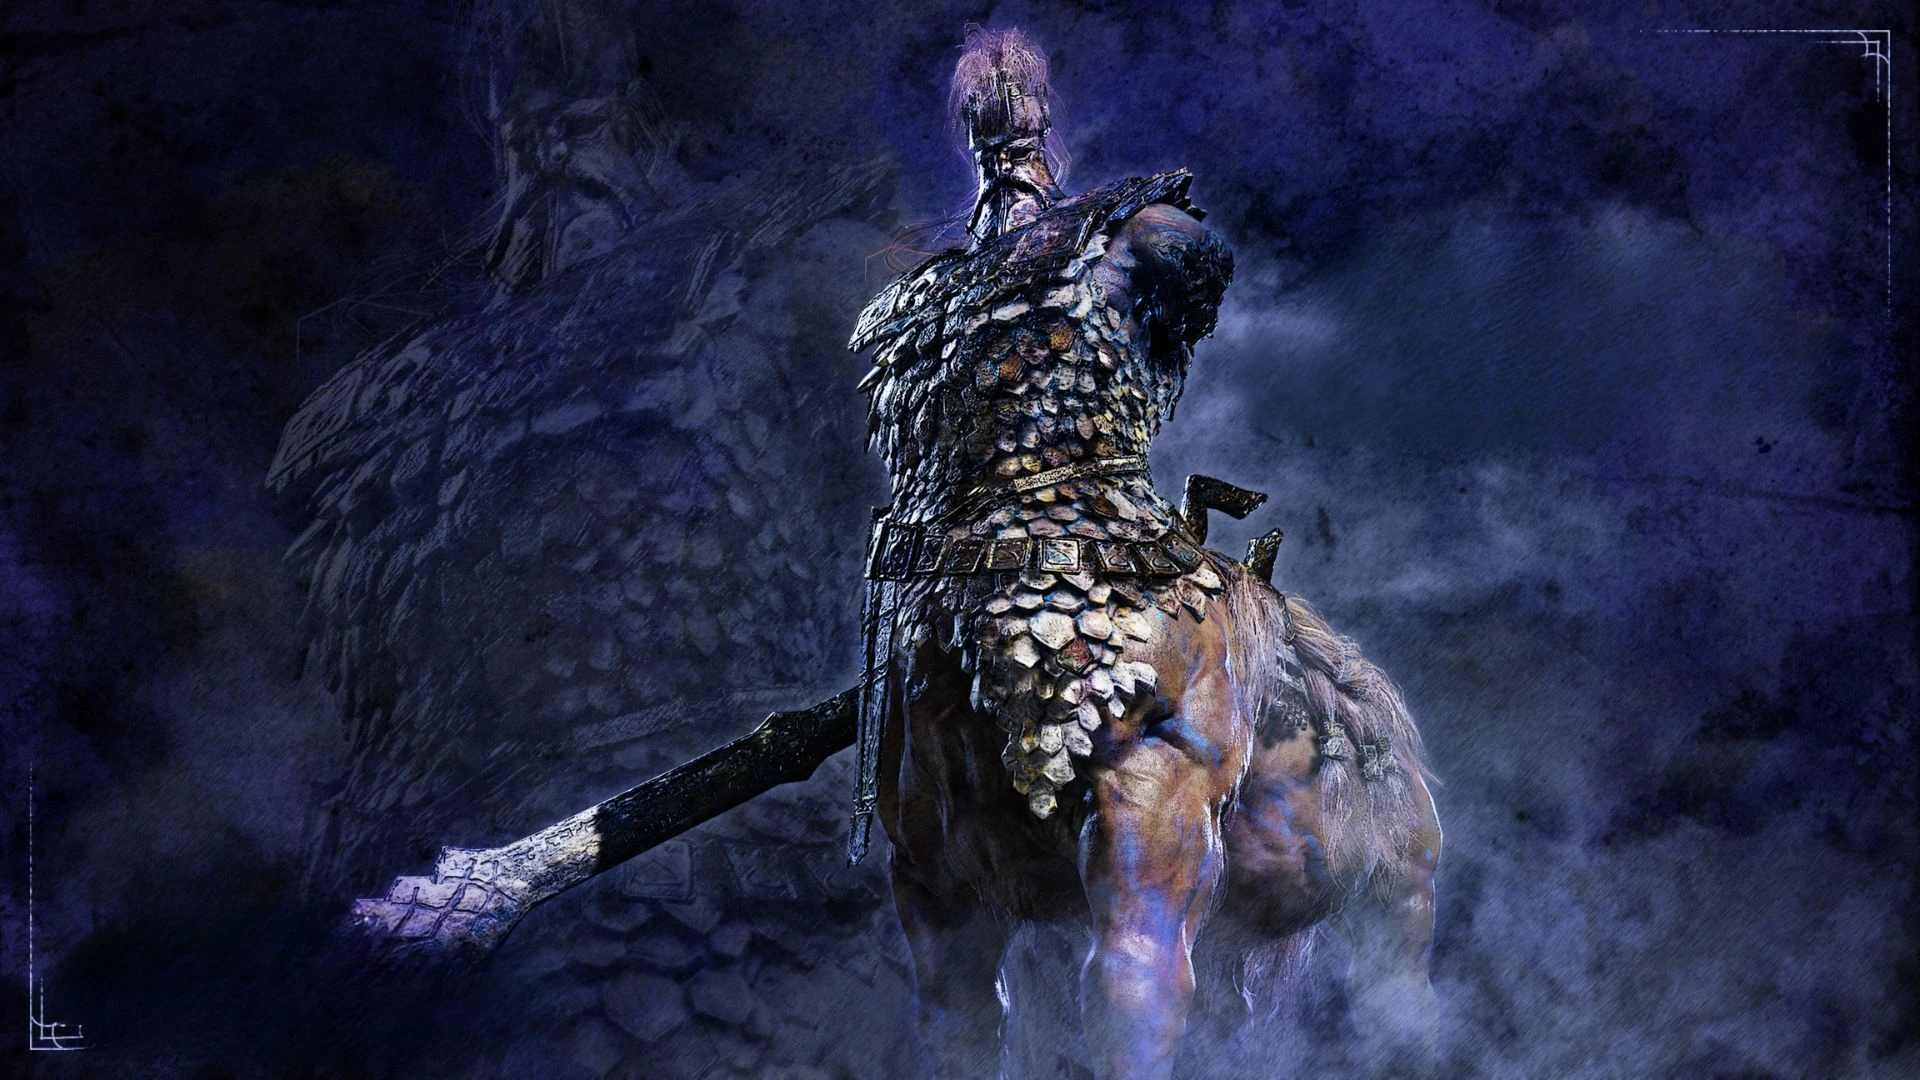
Overview: A massive, four-armed predator covered in armor shards and corrupted bone. Resides in the First Fissure, an ancient battlefield now twisted by the Night. Gladius is pure strength, charging relentlessly with brutal swipes and terrain-smashing leaps.
Moveset Highlights:
Ground slam that sends shockwaves
Frenzied charge that breaks arena edges
Howl of Night buffs his attack speed and adds bleed to his strikes in Phase 2
Tips to defeat:
Use Fire-based weapons to weaken his hardened exterior.
Dodge toward his slams, not away — the AoE expands outward.
In Phase 2, stay close and roll through attacks to avoid the bleed proc buildup.
Pro tip: His charge move breaks the arena edges. Lure him to trigger an environmental collapse and reset aggro.
Gladius, Beast of Night (Nightlord 1)
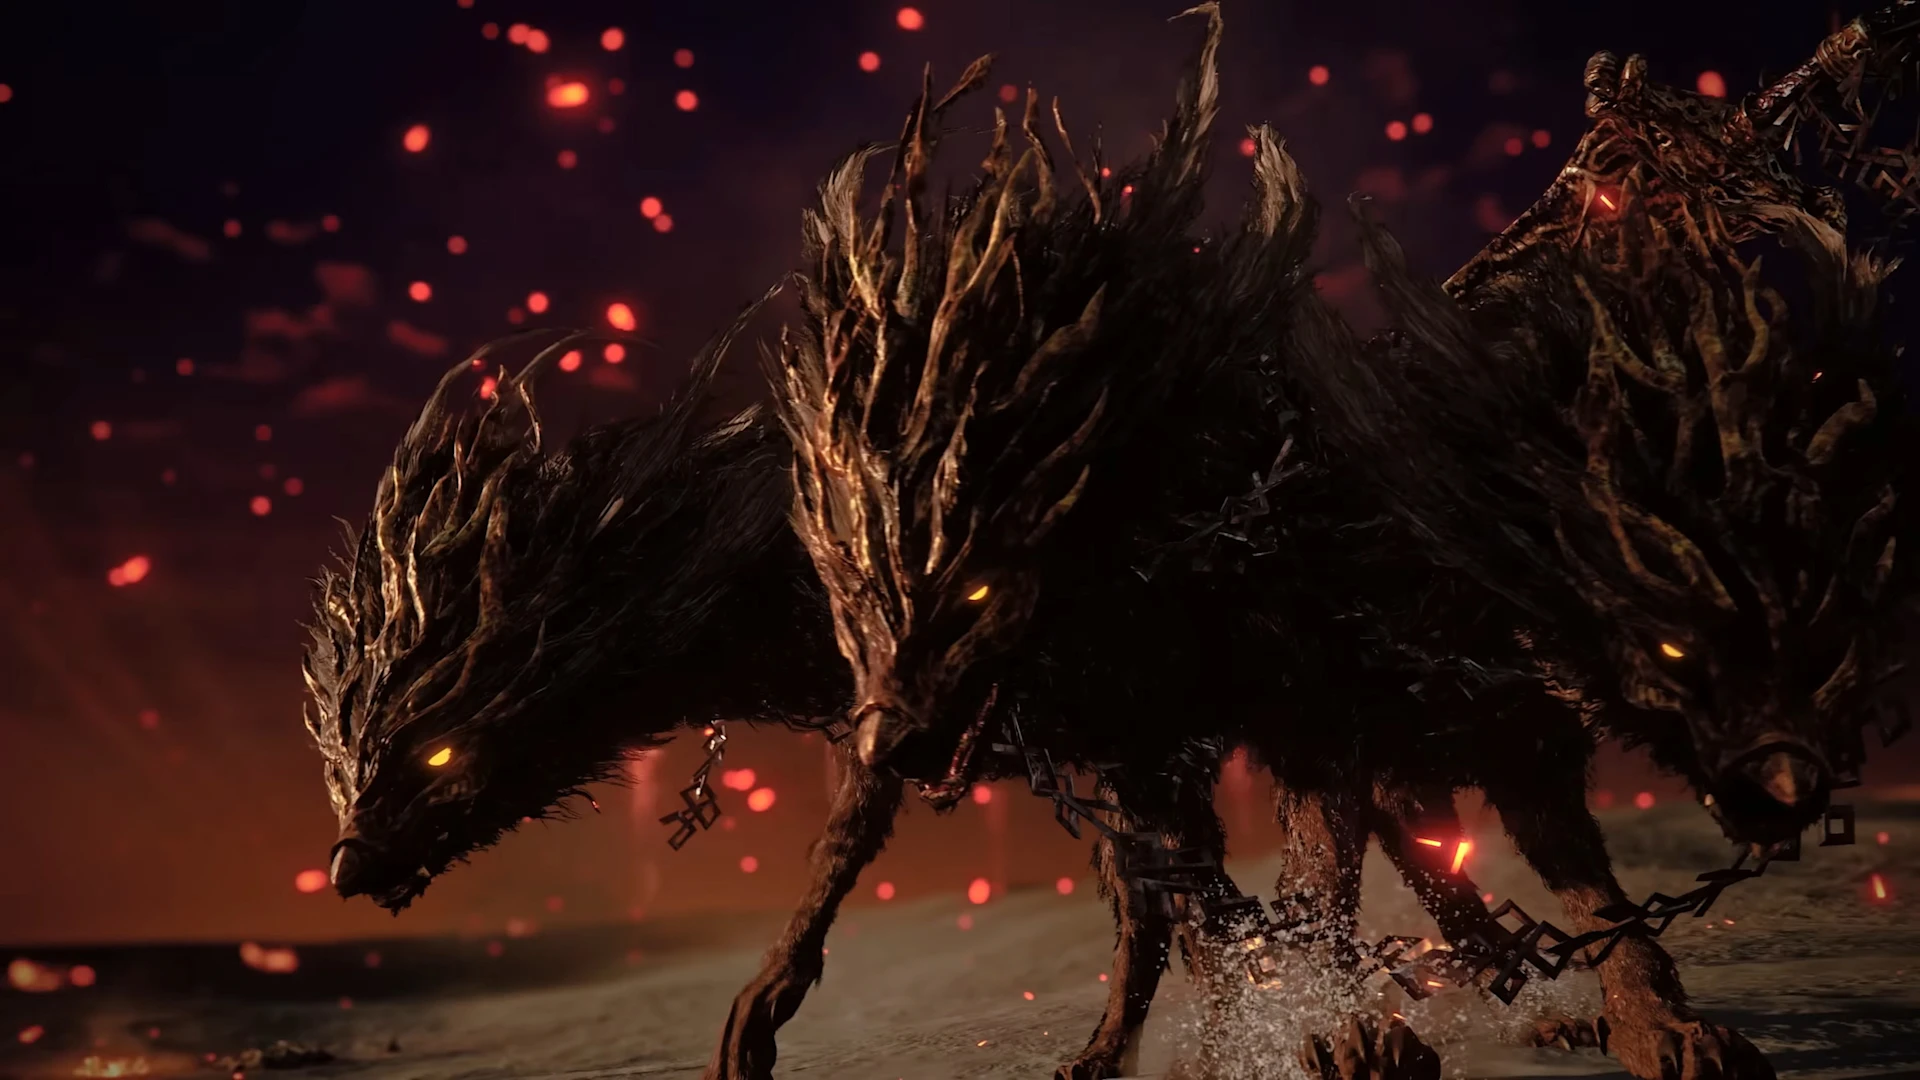
Gnoster, Shape of Night
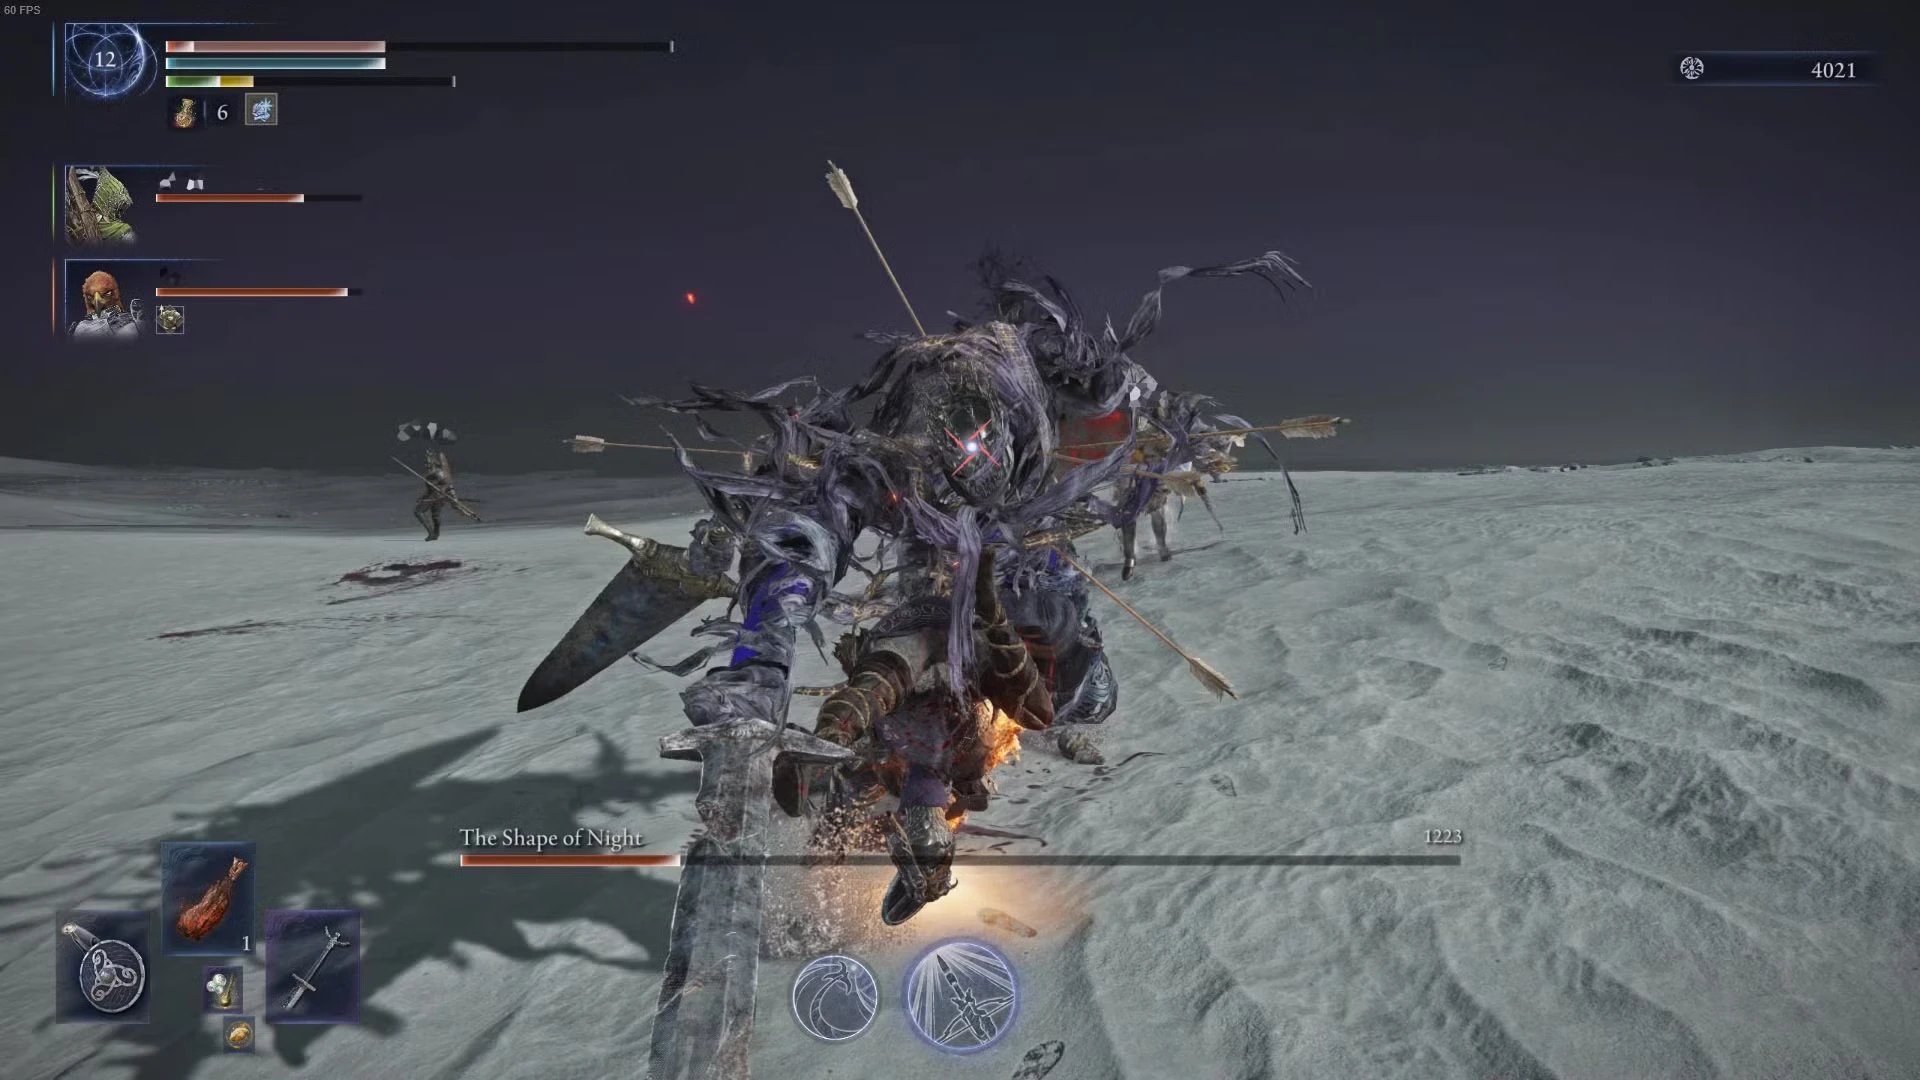
Overview: A constantly shifting boss who flickers between forms, wolf, wraith, and warrior. Gnoster embodies the Night Aspect of Illusion and warps time-space throughout the battle. The arena reshapes itself every 30 seconds.
Moveset Highlights:
Phase-warping teleport slashes
Creates false clones that explode on contact
Gravity pull → stasis → time-skip lunge
Tips to Defeat:
Don’t lock on during clone phases; the real Gnoster flickers red for a split second.
Equip Quickstep/Ash of War for fast repositioning.
Weak to Lightning and Piercing damage (think spears or thrust rapiers).
Pro tip: When the arena reshapes, hug the outer ring; the center usually becomes a gravity trap.
Region: Mountaintop Dormant Powers
Mountaintop Ice Dragon
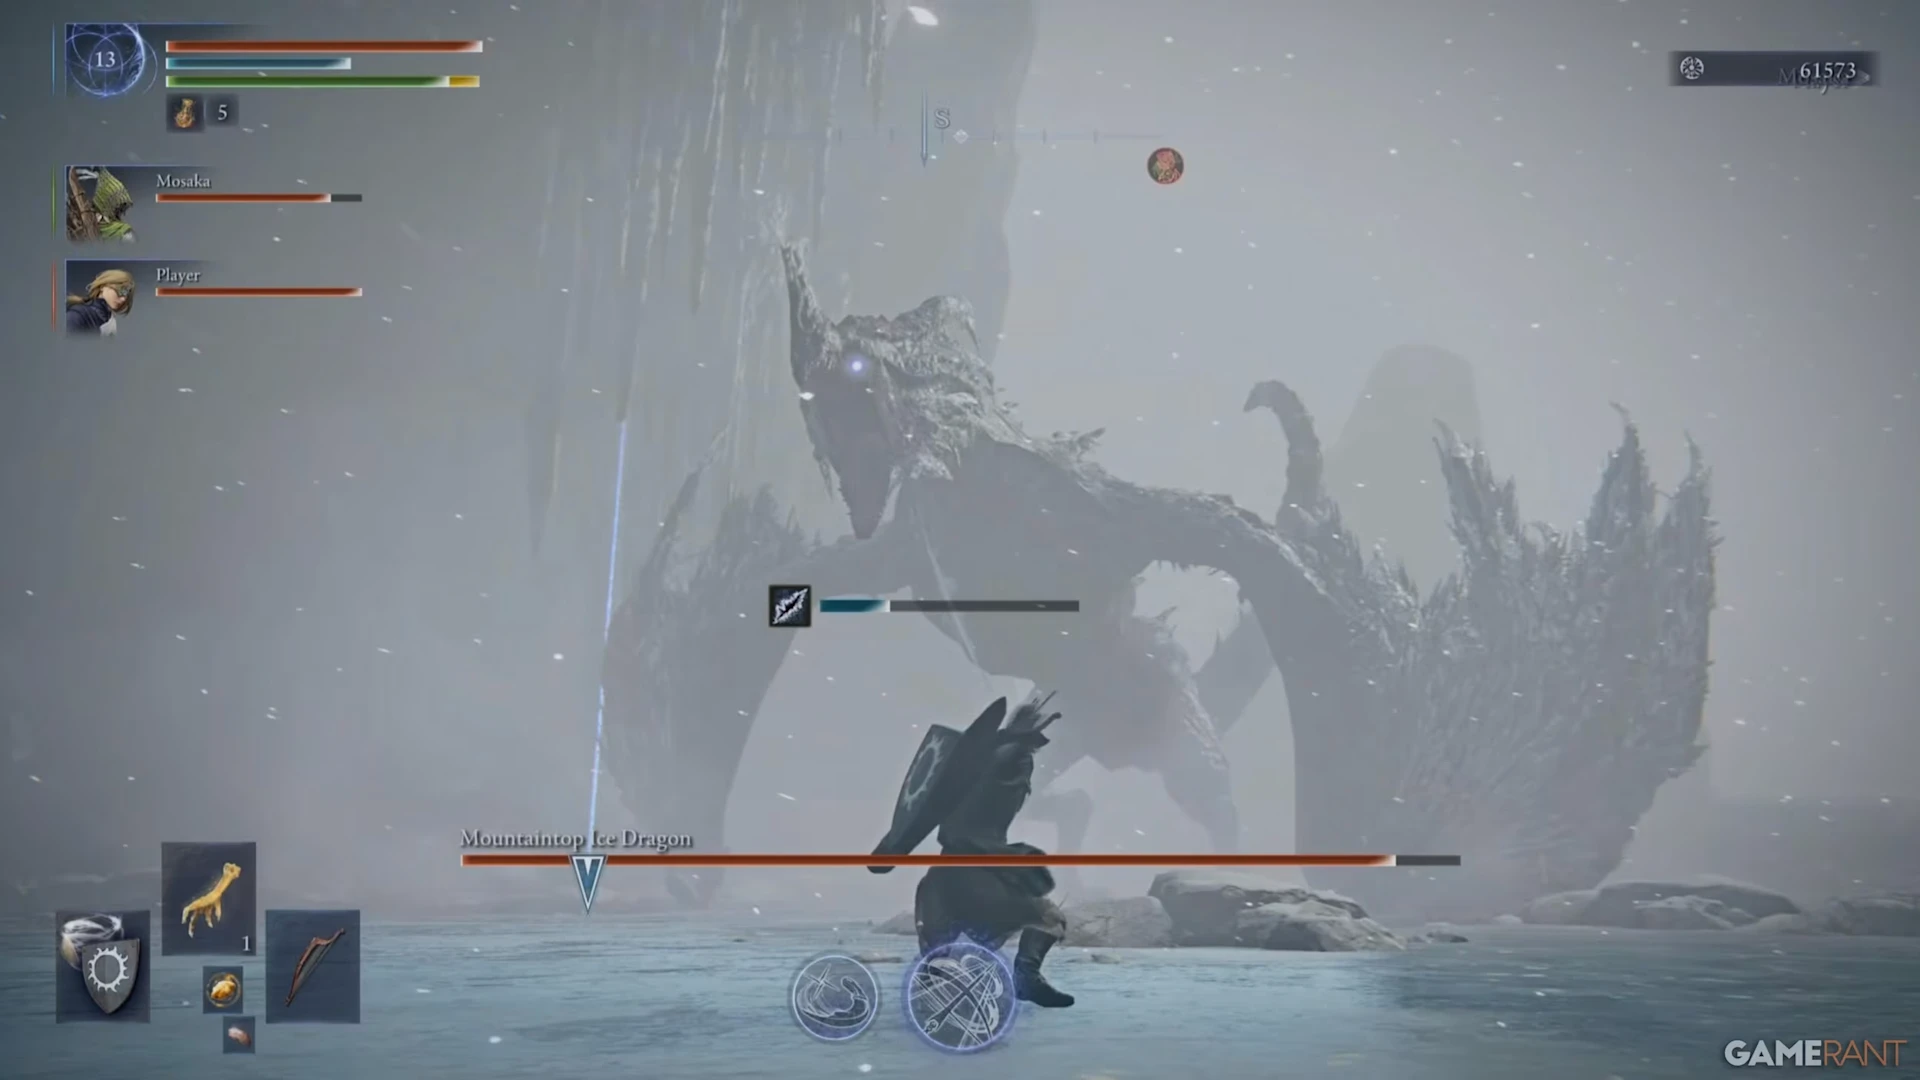
Overview: A reimagined Ancient Dragon encased in frost. Found deep in the Frozen Maw, it swoops overhead with sub-zero storms and glacial magic. Similar in feel to Borealis, but smarter and meaner.
Moveset Highlights:
Ice breath that freezes the arena
Summons hail meteors in Phase 2 Roars that inflict
Frostbite + stamina drain
Tips to Defeat:
Use Fire Grease, Flame Sling, or Giantsflame Take Thee for big damage windows.
Ranged users: aim for the wings when it flies; melee: wait for its dive and punish the head.
Frostbite immunity talismans and Flame-Shrouded Cracked Tear help a ton.
Pro Tip: Can be staggered mid-air by ballista shots or high-poise weapons, interrupt its second phase entry for an opening.
Sentient Pest
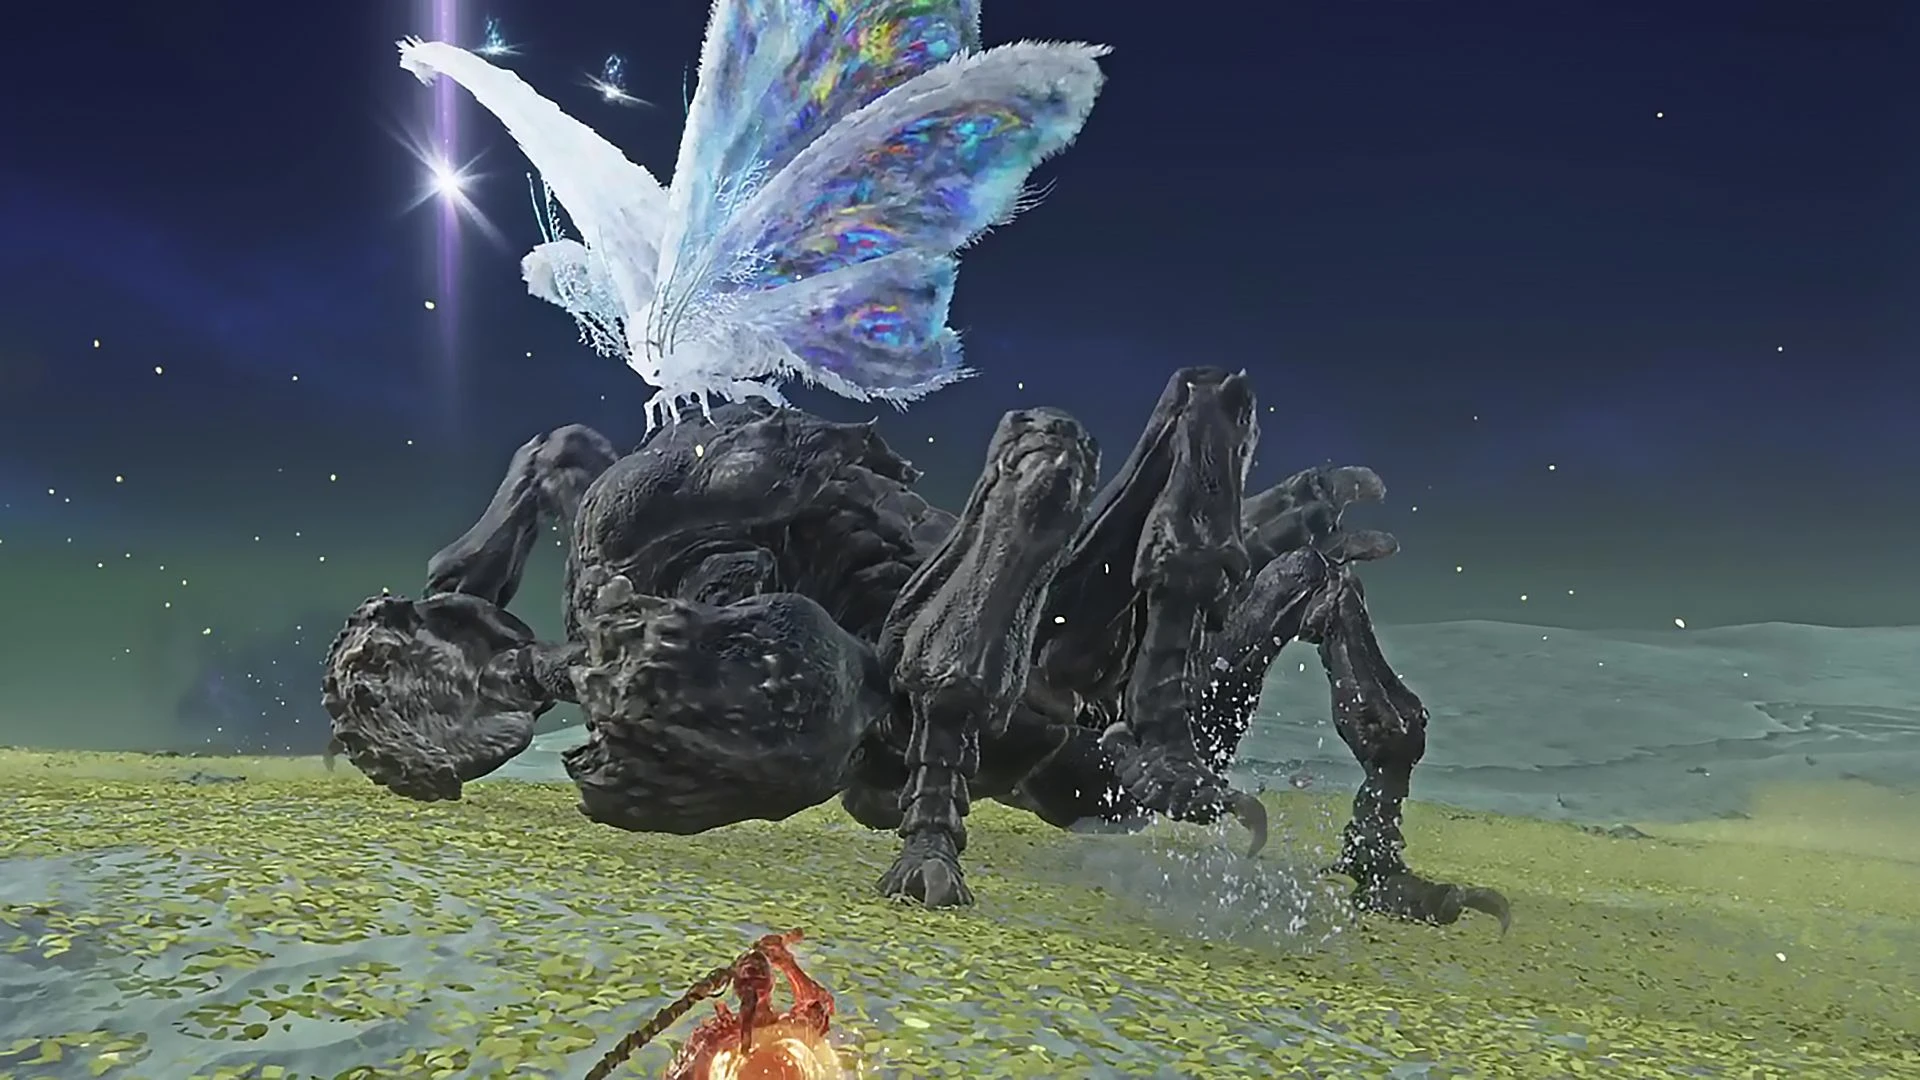
Overview: An enormous centipede-like monstrosity emerging from Toxin Pools. Lashes with barbed tails and vomits Scarlet Rot clouds. Visually disturbing and mechanically relentless. Moveset Highlights:
Toxin spit (lingering AoE - area of effect)
Burrow and re-emerge behind the player
Swarm call (summons mini-pests)
Tips to Defeat:
Rot resistance gear is mandatory (Mottled Necklace, Preserving Boluses).
Bring Spirit Ashes with crowd control like Cleanrot Knights or Lhutel.
Bait burrow → roll away → punish the emerge animation.
Pro Tip: Stay elevated when possible—parts of the arena offer higher ground to avoid Rot pools.
Adel, Baron of Night (Nightlord 2)
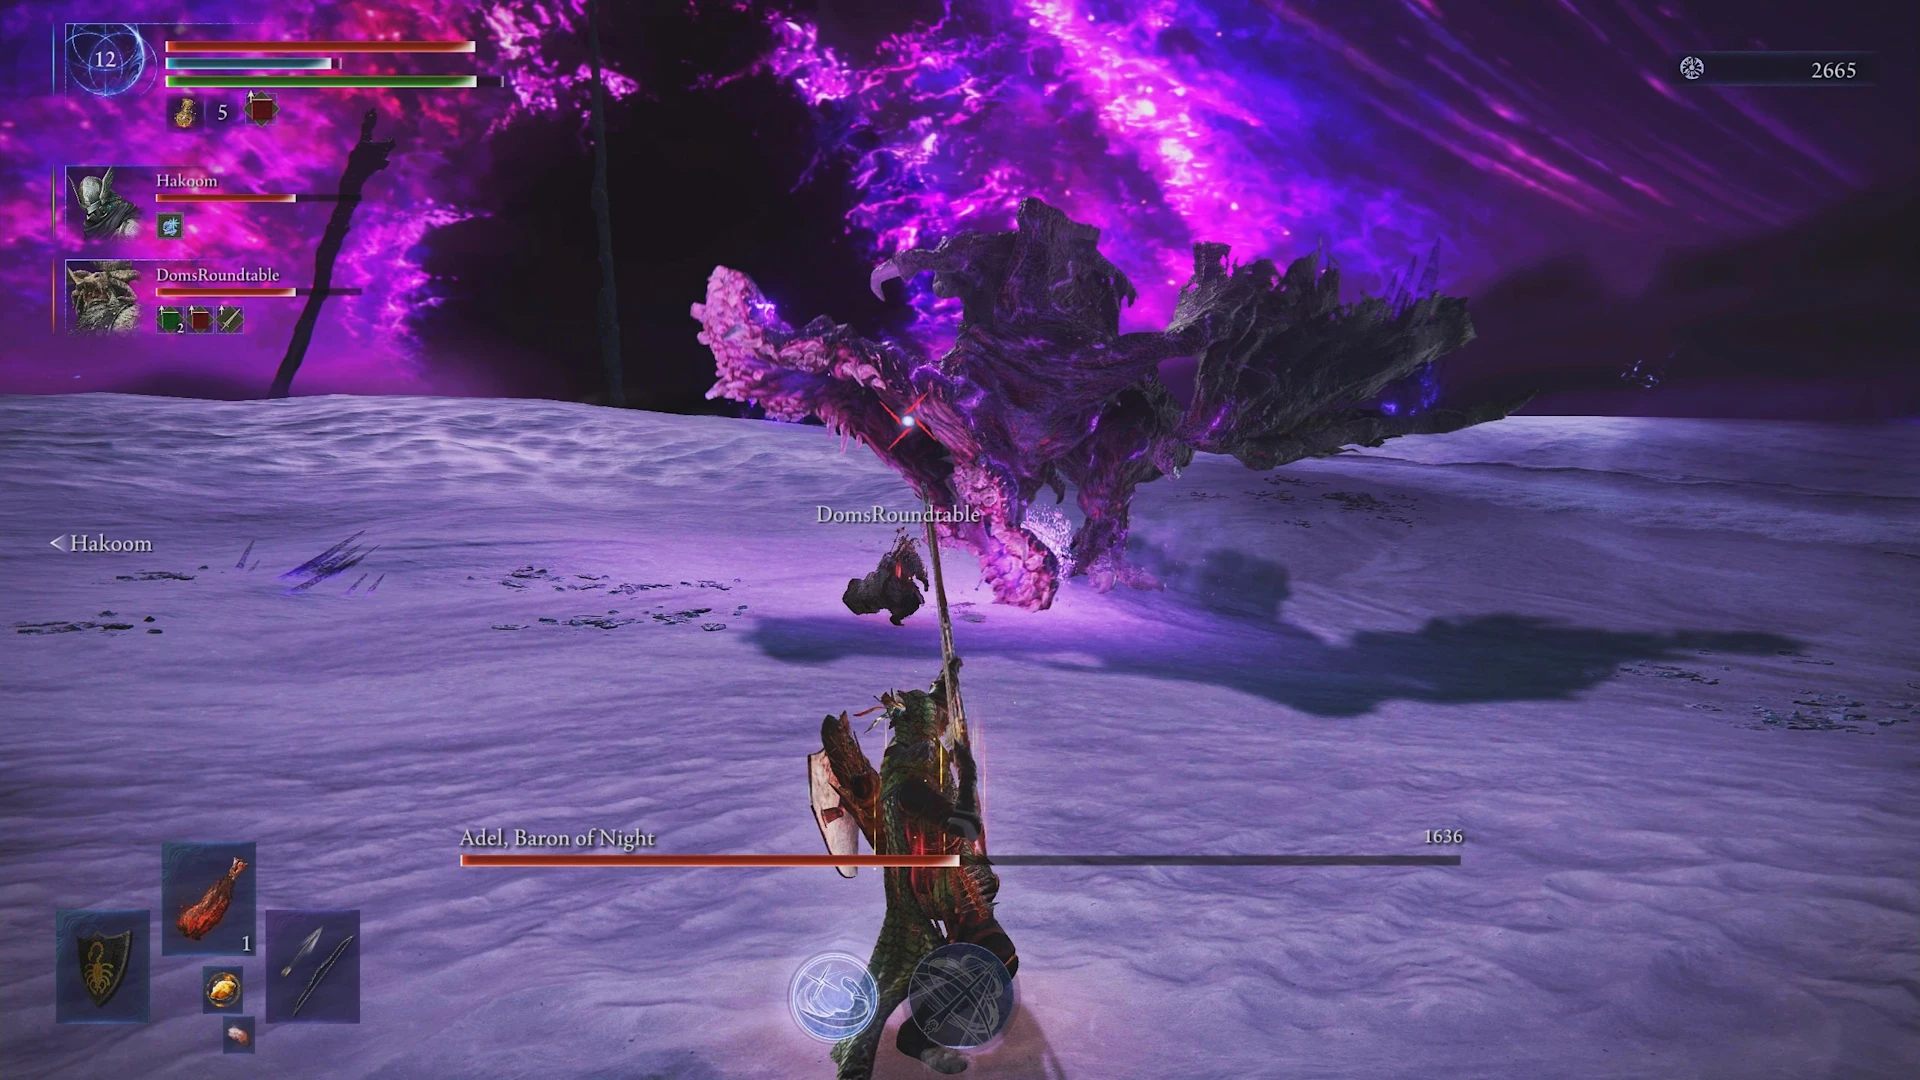
Overview: A vampiric warlord who feeds on buffs and health. He fights with a twinblade that grows stronger as your stats scale. Elegant and deadly, like fighting a bloodborne noble. Moveset Highlights:
Lifesteal spin combos
Steals your buffs with a sigil pulse
Phase 2: transforms into shadow form, gaining teleportation dashes
Tips to Defeat:
Avoid stacking buffs—he converts them into healing.
Bleed and Poison damage bypass his lifesteal scaling.
Roll late on his spin, it hits 1–2–pause–3.
Pro tip: Parrying is risky but possible. Save it for his heavy plunge.
Region: Nightglow Bastion
Crucible Knight: Shifting Earth
Overview: A legacy boss turned regional gatekeeper. This version wields elemental power, shifting between Earth, Fire, and Magma modes mid-fight. Moveset Highlights:
Terrain eruption (Earth phase)
Fire explosion on the shield block
Lava trail with charge in Phase 2
Tips to Defeat:
Circle strafe during Earth phase; jump attacks to avoid shockwaves.
Equip Fire resistance gear for the second phase.
Use Poise-heavy weapons to stagger him before he shifts.
Pro Tip: Magic builds should punish during shield blocks; his fire mode opens him up.
Caligo, Miasma of Night (Nightlord 3)
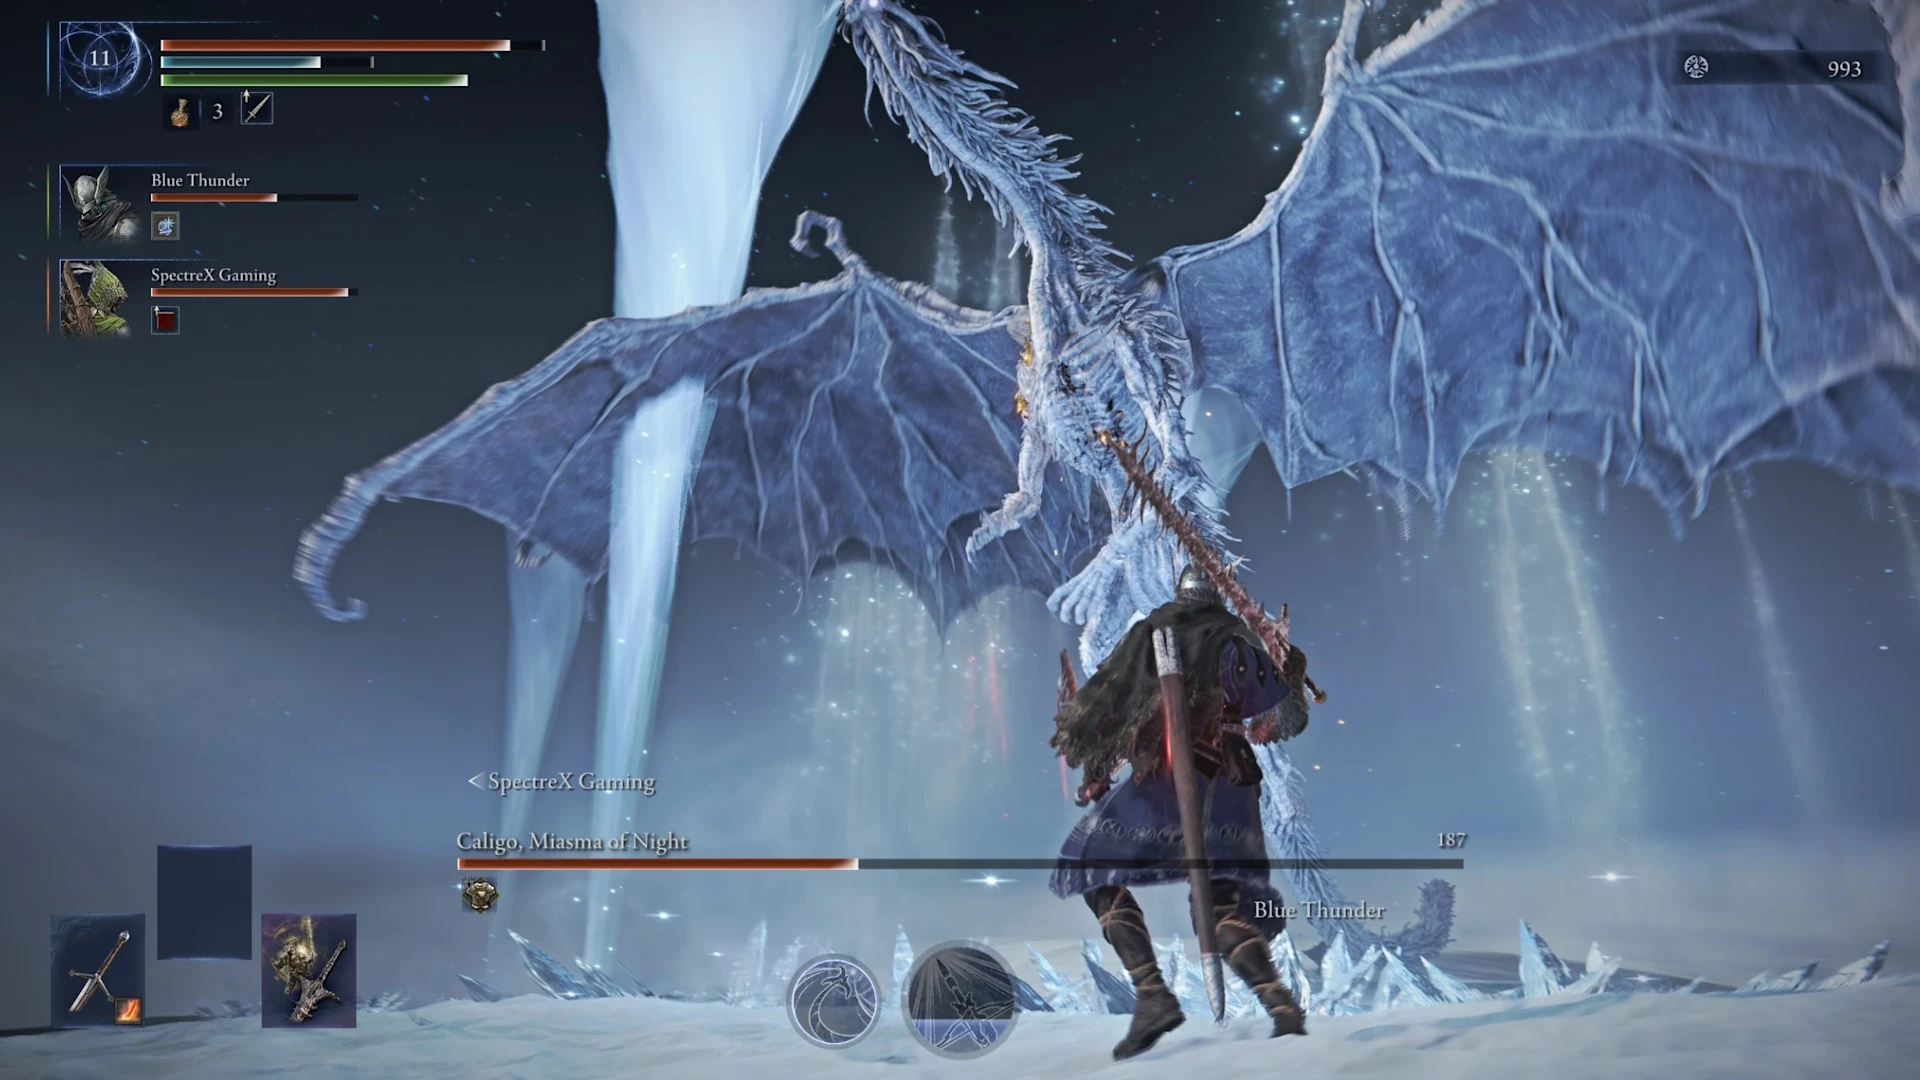
Overview: A monstrous, cloaked figure surrounded by permanent fog. Emits toxic mist and causes Death Blight buildup with every attack. The arena is almost entirely obscured.
Moveset Highlights:
Blight mist clouds that follow you
Grabs from fog (insta-kill if caught in the second phase)
Phantom limbs attack from the mist
Tips to Defeat:
Equip Mottled Necklace, Stalwart Horn Charm, or any Blight resistance gear.
Light sources (like a Lantern) reduce her accuracy slightly.
Keep moving and strike after her shadow lunges.
Pro Tip: Fire-based AoEs (like Flame of the Redmanes) can reveal her briefly.
Wisdom of Night, Libra (Nightlord 4)
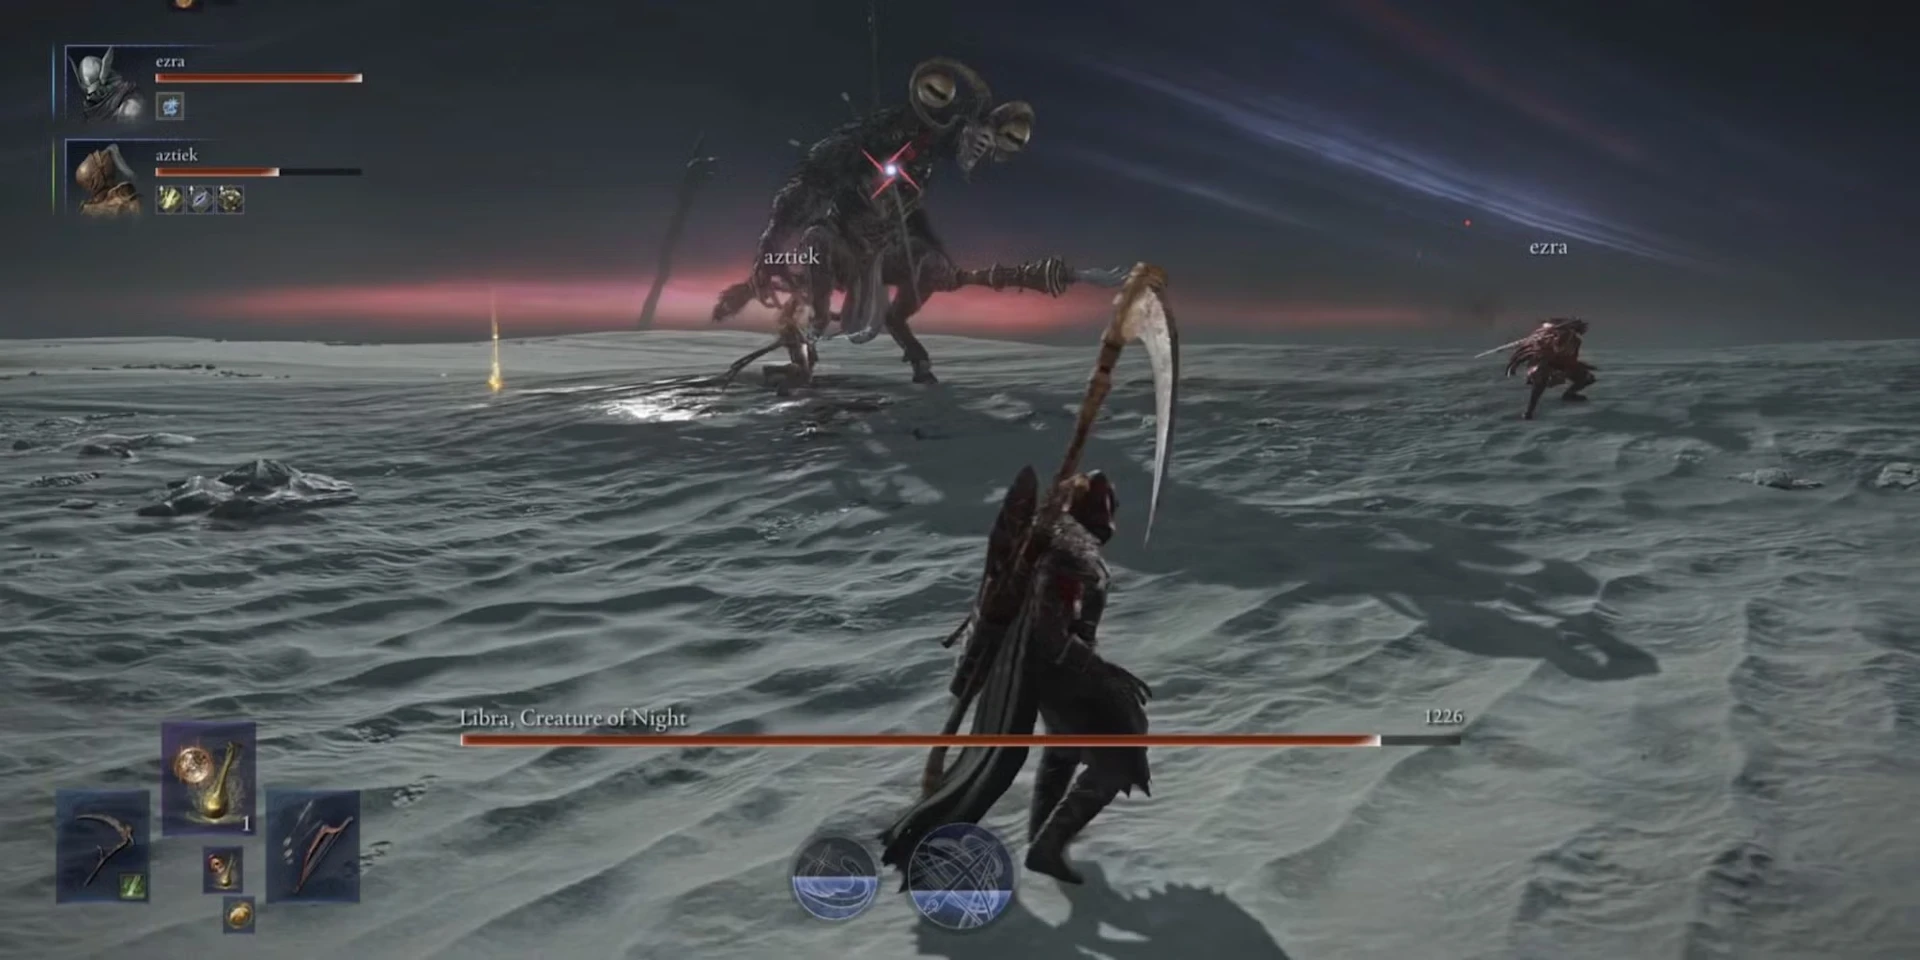
Overview: Fights in an ancient observatory turned upside down. Uses gravity magic, mirrored illusions, and tactical summons. A mind-game boss, not a brawler.
Moveset Highlights:
Gravity wells that slow/stun you
Illusion clones (mirror images reflect your own movements)
Summons past NPC spirits
Tips to Defeat:
Don’t use heavy armor—you need speed and roll i-frames.
Charged light attacks break mirror clones instantly.
She’s weakest right after a summon, close the distance then.
Pro Tip: Equip Glintstone Scarab to boost FP recovery; you’ll need it to counter her magic.
Region: Final Circle
Fulghor, Champion of Nightglow (Nightlord 5)
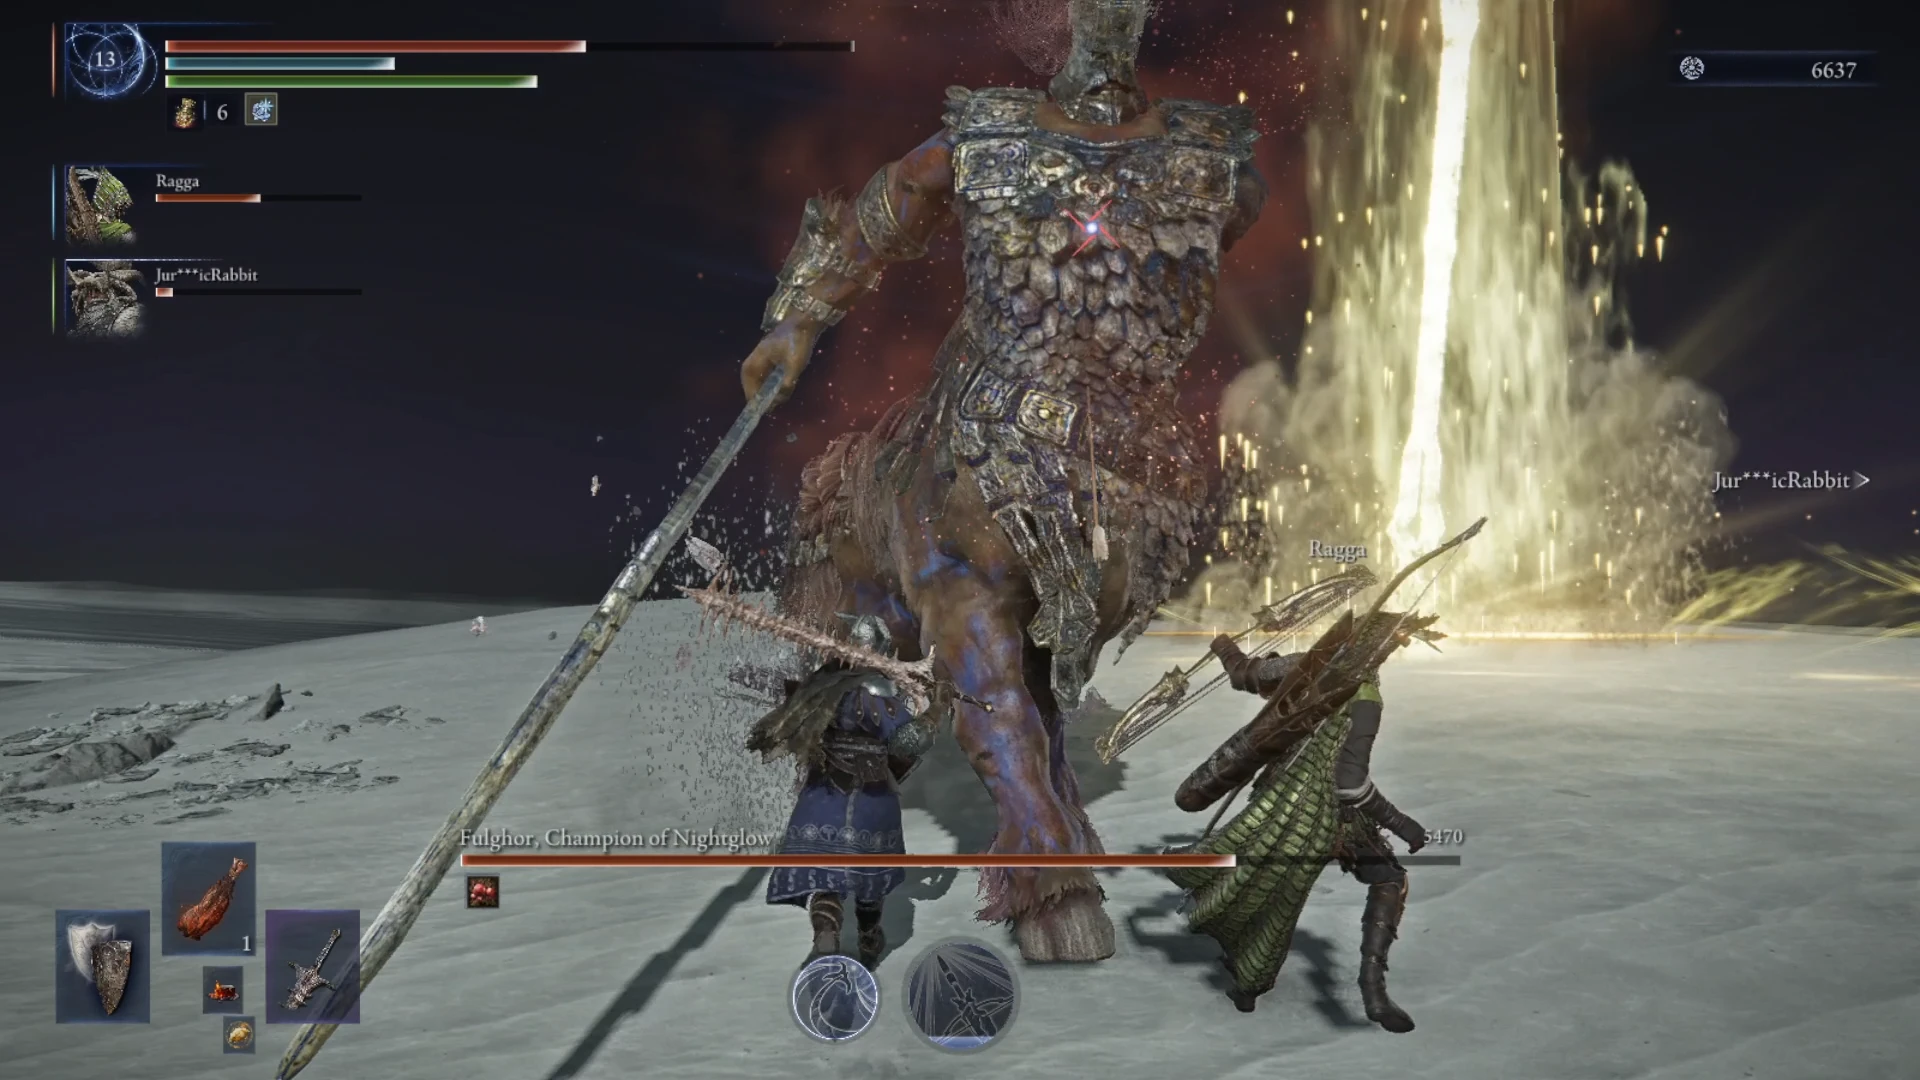
Overview: A living lightning bolt. Fulghor is fast, agile, and leaves afterimages during attacks. Duel-style boss with insane burst damage and Storm Aspect powers.
Moveset Highlights:
Lightning dash that homes mid-roll
Weapon charge into thunderstorm AoE
Phase 2: arena becomes a lightning field, constantly pulsing damage
Tips to Defeat:
Stack Lightning resistance and Stamina regen (Green Turtle Talisman).
Two-hand a heavy weapon and punish when he pauses post-dash.
Parrying is nearly impossible, rely on dodges instead.
Pro Tip: Spirit summons die fast so use Tiche or go solo.
Maris, Fathom of Night (Nightlord 6)
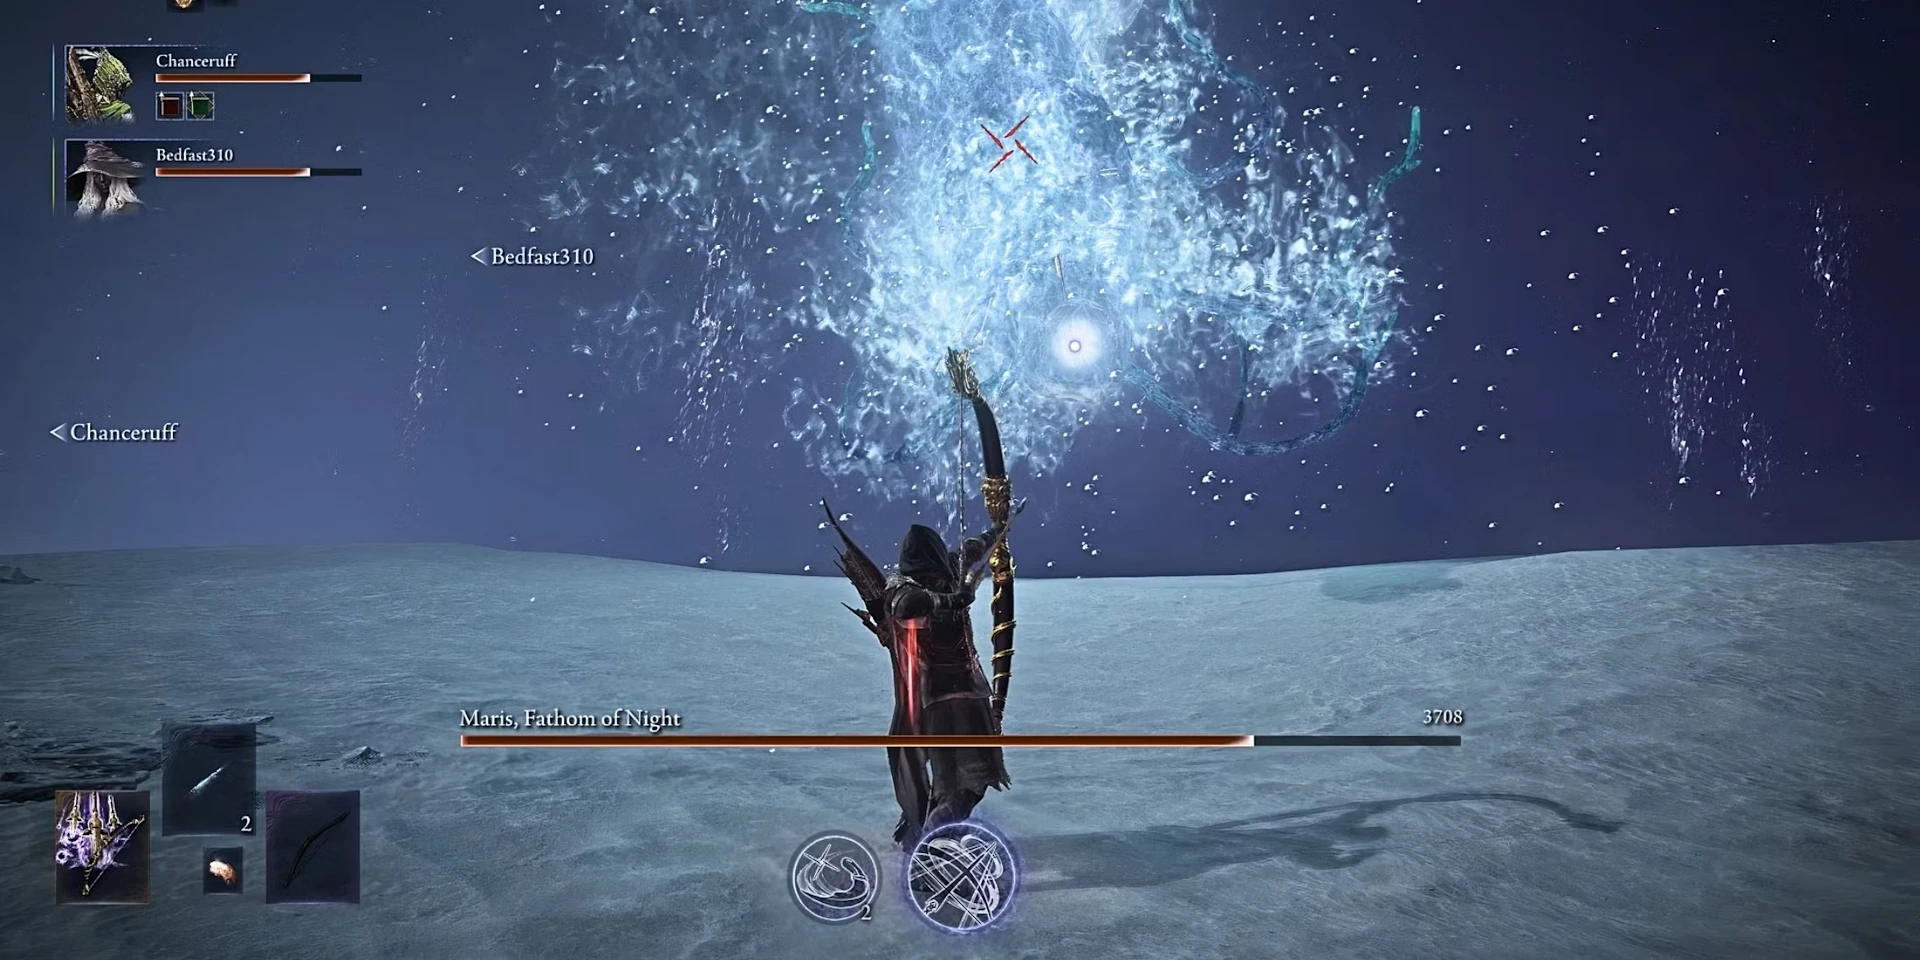
Overview: Maris floats above a half-flooded arena. Wields water and soul-based attacks. Ethereal, melancholic, and deadly—her final phase summons the spirits of drowned warriors. Moveset Highlights:
Water blades that ricochet off walls
Tidal wave + soul burst combo
Whirlpools that trap + pull you under
Tips to Defeat:
Fire, Rot, and Bleed work well.
Keep moving. Staying still invites whirlpool traps.
Roll toward the tidal wave, not away.
Pro Tip: Can be staggered during summoning animations, charge in when she chants.
Nightlord Avatar (Pre-Final Boss)
Overview: A fusion of all six Night Aspects. This is a boss gauntlet in one body, each phase mimics a Nightlord’s powers and tactics. Moveset Highlights:
Caligo Phase (Shadowfire)
Ashstep Combo: Quick shadow dash attacks in a zigzag pattern. Roll toward the second dash to stay close.
Infernal Mirage: Creates flaming afterimages that explode after a short delay.
Nocturne Phase (Sound & Pulse)
Pulse Barrage: Emits radial shockwaves. Jump or roll twice at mid-range to avoid the layered impact.
Siren Shriek: Disorients and drains stamina if not blocked.
Umbra Phase (Blood Magic)
Sanguine Whip: Long-range sweeping attack with bleed buildup. Don’t get clipped twice in a row.
Bloodroots: Vines erupt from the ground—dodge diagonally when the red cracks appear.
Tenebris Phase (Fog & Rot)
Deathmist Cloud: A slow-moving AoE cloud. Lure the Avatar away from it before re-engaging.
Lurching Swipe: Heavy, delayed swing through the fog. Bait and punish.
Libra Phase (Gravity Magic)
Weight of Judgment: Slams the ground and pulls you inward. Spam rolls as it flashes purple.
Equilibrium Blast: A slow-charging orb that explodes in a dome. Get out fast or block with high stability.
Eidolon Phase (Illusion & Spirit)
Mirror Shift: Creates doubles that attack at a 1-second delay. Focus on the one without a flicker.
Phantom Volley: Homing spiritual shards. Roll into the first wave, then sideways for the rest.
Tips to Defeat:
Change talismans between phases if needed.
Save FP for Phase 5+ —healing windows get tighter.
Don’t panic roll during transition animations; some are fakeouts.
Pro Tip: Think of this fight like a “greatest hits” playlist. If you’ve mastered the Nightlords, you can handle this.
Heolstor, the Nightlord (Final Boss)
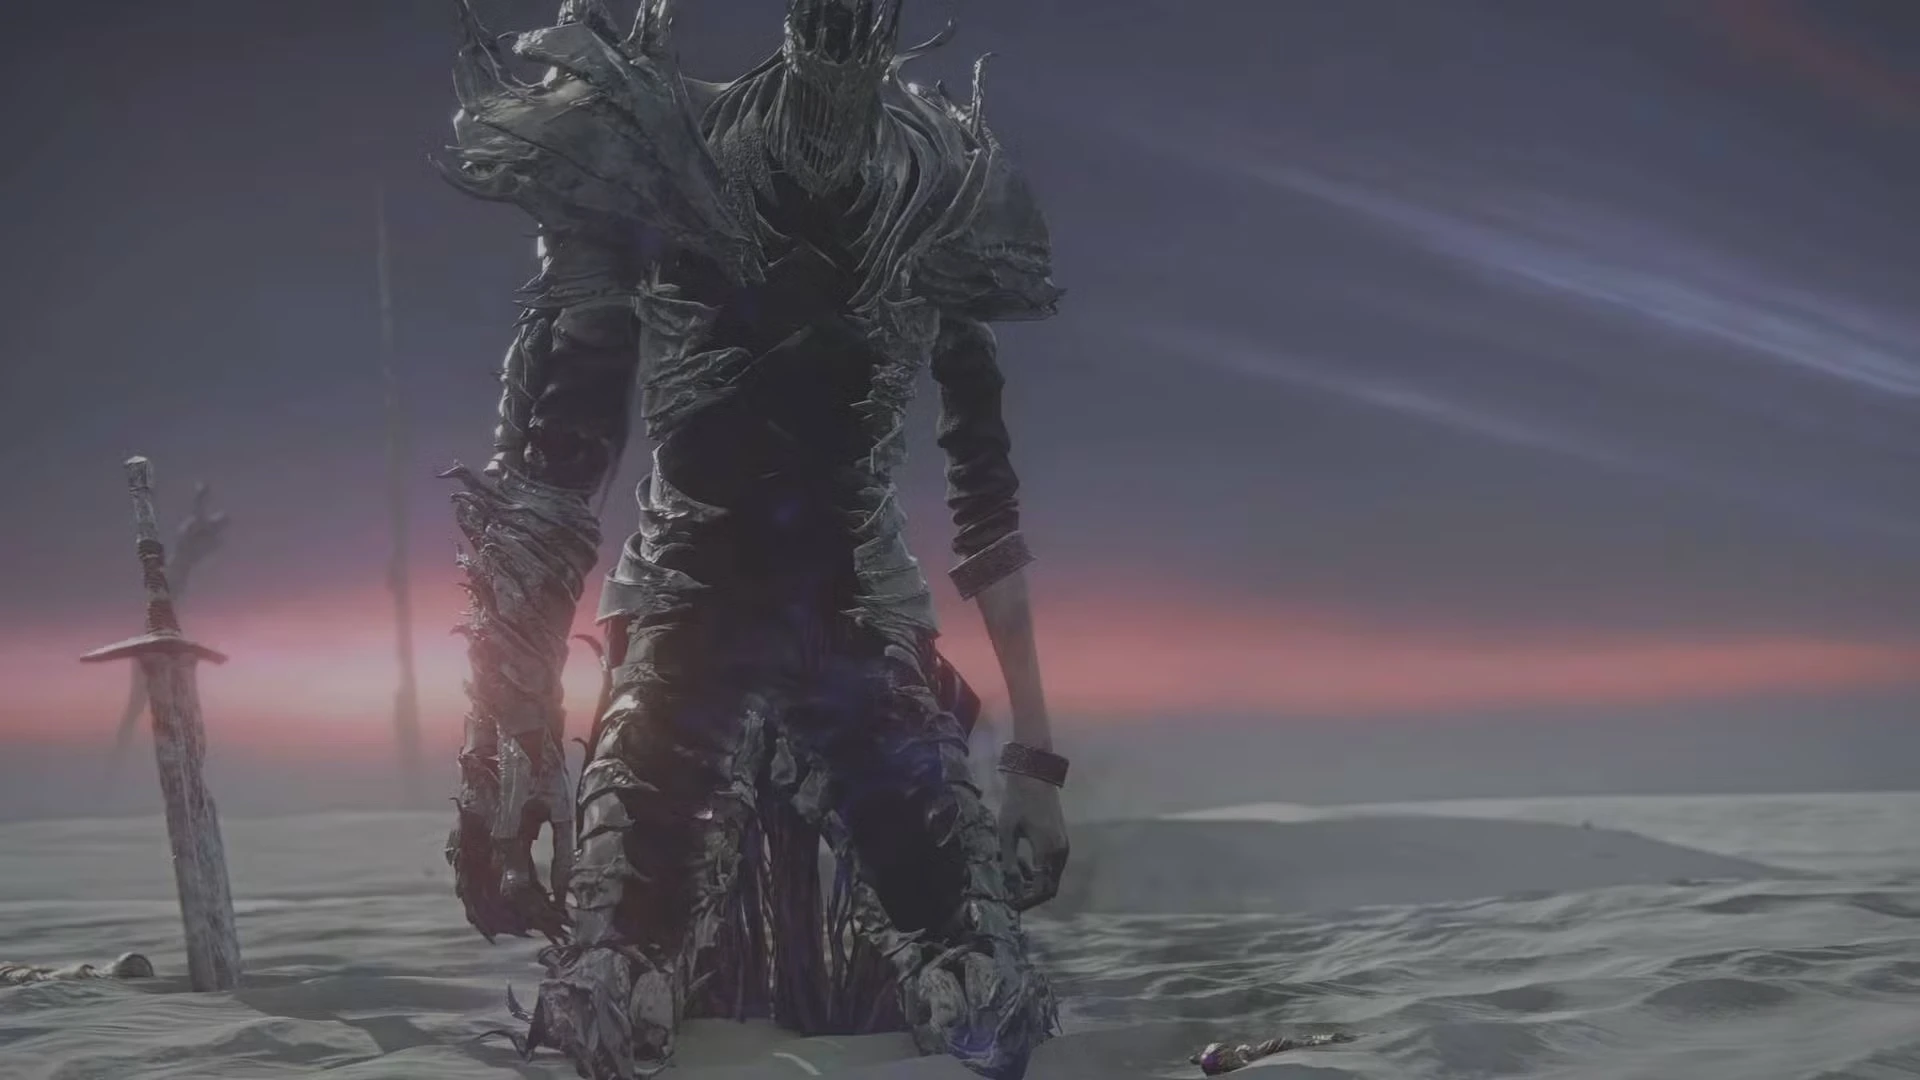
Overview: Heolstor appears after the Table of Lost Grace is restored and all Nightlord paths have been completed. The fight opens in eerie silence before unraveling into a two-phase brawl.
Moveset Highlights:
Phase 1
Grave Reaping Slash: A massive overhead strike followed by a delayed shockwave. Dodge twice: once for the blade, once for the wave.
Soulbrand Throw: He tosses spectral knives in an arc. Roll diagonally toward him to close distance and avoid the scatter.
Voidstep: Teleports behind you and follows with a fast thrust. Listen for the audio cue—there’s a faint “crack” before he reappears.
Phase 2
Rotating Eclipse Beam: Charges a horizontal beam that sweeps the arena. Stay mid-range and sprint through the beam’s arc to avoid getting clipped.
Elemental Shift: He gains a random elemental buff (fire, frost, or lightning), changing his attack properties. Watch the sky flash for a color tell (red, blue, yellow).
Grasp of the Forgotten: Summons black hands from the ground in a wide AoE. Look for glowing sigils underfoot and dodge twice to escape.
Tips to Defeat:
His sweeping slash is parryable and leaves him wide open. Timing is tight but rewarding.
Stick close in Phase 1 to bait his heavy swings and punish the slow recovery.
Pay attention to the sky tear animation in Phase 2: the color reveals which elemental buff he’s about to use (e.g., red = fire, blue = frost).
Summons can help distract in Phase 1, but Phase 2 AoE attacks can wipe Spirit Ashes quickly.
Preload a Holy-damage weapon with fast strike speed (like Coded Sword or Holy Uchigatana) to capitalize on his weakness.
Buff yourself with Blessing of the Erdtree or similar incants before the second phase begins.
Pro Tip: Use the Executor build with precise parry timing to melt Heolstor’s poise and stagger him repeatedly in Phase 2. The fewer mistakes you make early, the more time you'll have to punish his desperation combos later on.
Which Dark Souls Bosses Appear in Nightreign?
Elden Ring: Nightreign resurrects the Dark Souls legacy. A handful of legendary Dark Souls bosses make their return in this DLC, reimagined with new mechanics and Nightreign’s signature gloom. Here's who you'll face (and how to survive them):
Nameless King (Dark Souls III)

Where to find him: Atop the Stormpiercer Keep, after activating three Storm Sigils in Limveld.
Moveset Highlights:
Storm Dive: A high-speed, aerial slam followed by shockwaves.
King’s Wrath: Electrified blade combos with massive range.
Wyvern Phase (Phase 1): Similar to the original fight, stay mobile and aim for the head.
Battle Tips:
Use lightning-resistant talismans and fire protection.
Ranged spells during Phase 1 can help you burn down the wyvern early.
Time your rolls carefully. His swings are wide, but well-telegraphed.
Pro Move: Equip a Greatshield for the second phase. It’ll help you tank his multi-hit flurries without breaking your posture.
Artorias the Abysswalker (Dark Souls)

Where to find him: Deep within the Fissure in the Fog, beneath the ruins of the Spirit Shelter. Moveset Highlights:
Abyssal Charge: A gap-closing leap with lingering darkness damage.
Dark Spiral: AoE attack that spirals outward—roll through it, not away.
Rage Phase: After 50% HP, his speed and aggression increase dramatically.
Battle Tips:
Bring quick weapons or bleed builds, he’s fast and punishes slow animations.
His openings are narrow, so patience is key.
Spirit Ashes with stagger potential (like Oleg) can give you crucial space.
Pro Tip: Artorias is vulnerable during his power-up animation, punish hard before his Rage Phase kicks in.
Smough (Solo) (Dark Souls)
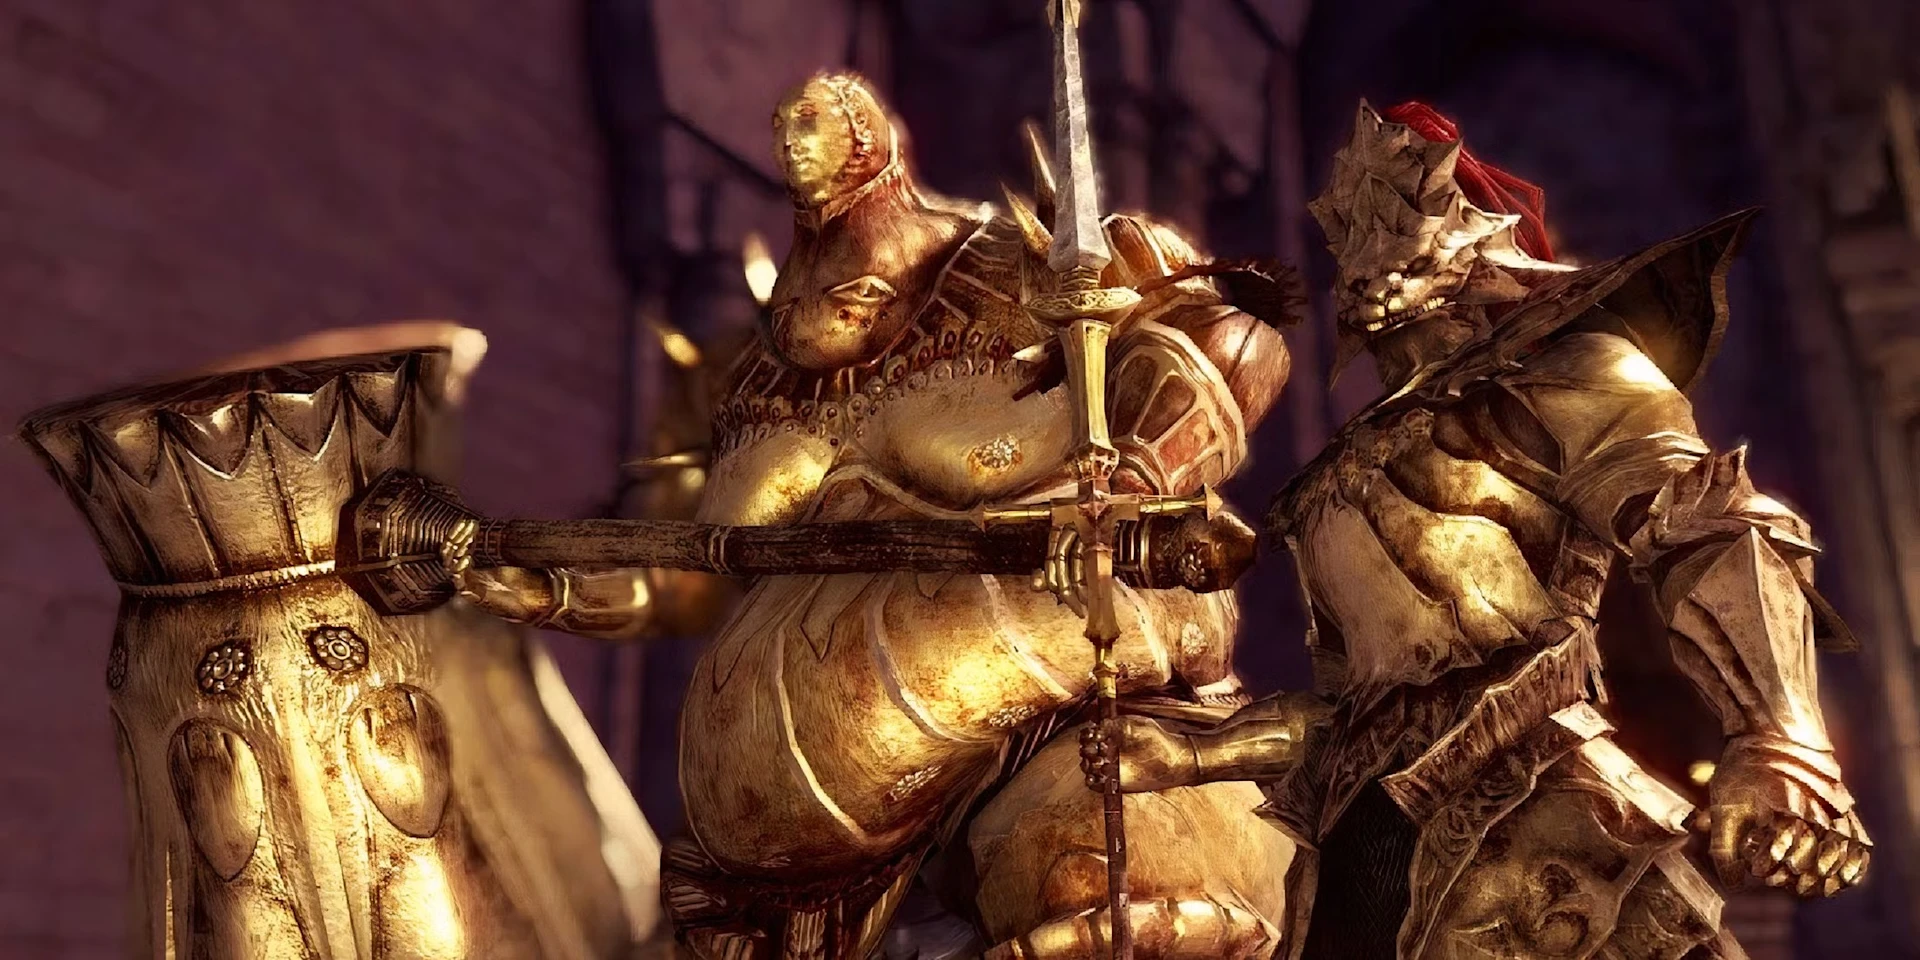
Where to find him: In the crumbled remains of Old Leyndell, guarding a cursed Cathedral.
Moveset Highlights:
Hammer Slam: Still devastating, now with a shockwave AoE.
Butcher’s Parade: A four-hit combo that ends in a backward leap.
Golden Judgment: A new ranged smash that emits holy sparks.
Battle Tips:
Stay close to bait predictable swings—backing off invites his ranged attacks.
Circle strafe around his right side to avoid most of his combos.
Equip Holy-resistant gear. His attacks are laced with radiant damage.
Pro Tip: If you’ve unlocked the Shape of Night Ash of War, use it here to evade his telegraphed slams with style.
How to Prepare for Boss Fights in Nightreign
Nightreign dials the difficulty up with smarter bosses, unpredictable mechanics, and panic-inducing arenas. To survive the gauntlet, you'll need more than just brute strength—you'll need strategy.
Here's how to prep like a pro.
Pro tip before you charge into battle: Precision matters. Bosses in Nightreign don’t forgive sloppy inputs. Upgrade your aim with the SteelSeries Rival 3 Wireless Gen 2—ultra-responsive, featherlight, and built to survive even your most panicked dodge-rolls.
Overview: Fights in an ancient observatory turned upside down. Uses gravity magic, mirrored illusions, and tactical summons. A mind-game boss, not a brawler.
Moveset Highlights:
Gravity wells that slow/stun you
Illusion clones (mirror images reflect your own movements)
Summons past NPC spirits
Tips to Defeat:
Don’t use heavy armor—you need speed and roll i-frames.
Charged light attacks break mirror clones instantly.
She’s weakest right after a summon, close the distance then.
Pro Tip: Equip Glintstone Scarab to boost FP recovery; you’ll need it to counter her magic.
Region: Final Circle
Fulghor, Champion of Nightglow (Nightlord 5)
Dodge, Die, Repeat (Then Win)
From cursed kings to cosmic horrors, Nightreign delivers some of the toughest boss fights in the Lands Between, and you just got the rundown on every one of them. Whether you're parrying like a pro or panic-rolling through phase twos, the real trick is patience, prep, and the right gear.
So stock up on runes, polish your build, and maybe swap that old mouse for something with actual click consistency. When the shadows come calling, you’ll be more than ready.
Wordsmith at SteelSeries. Enthusiastic about Dota 2 and fighting games. A cat dad.